

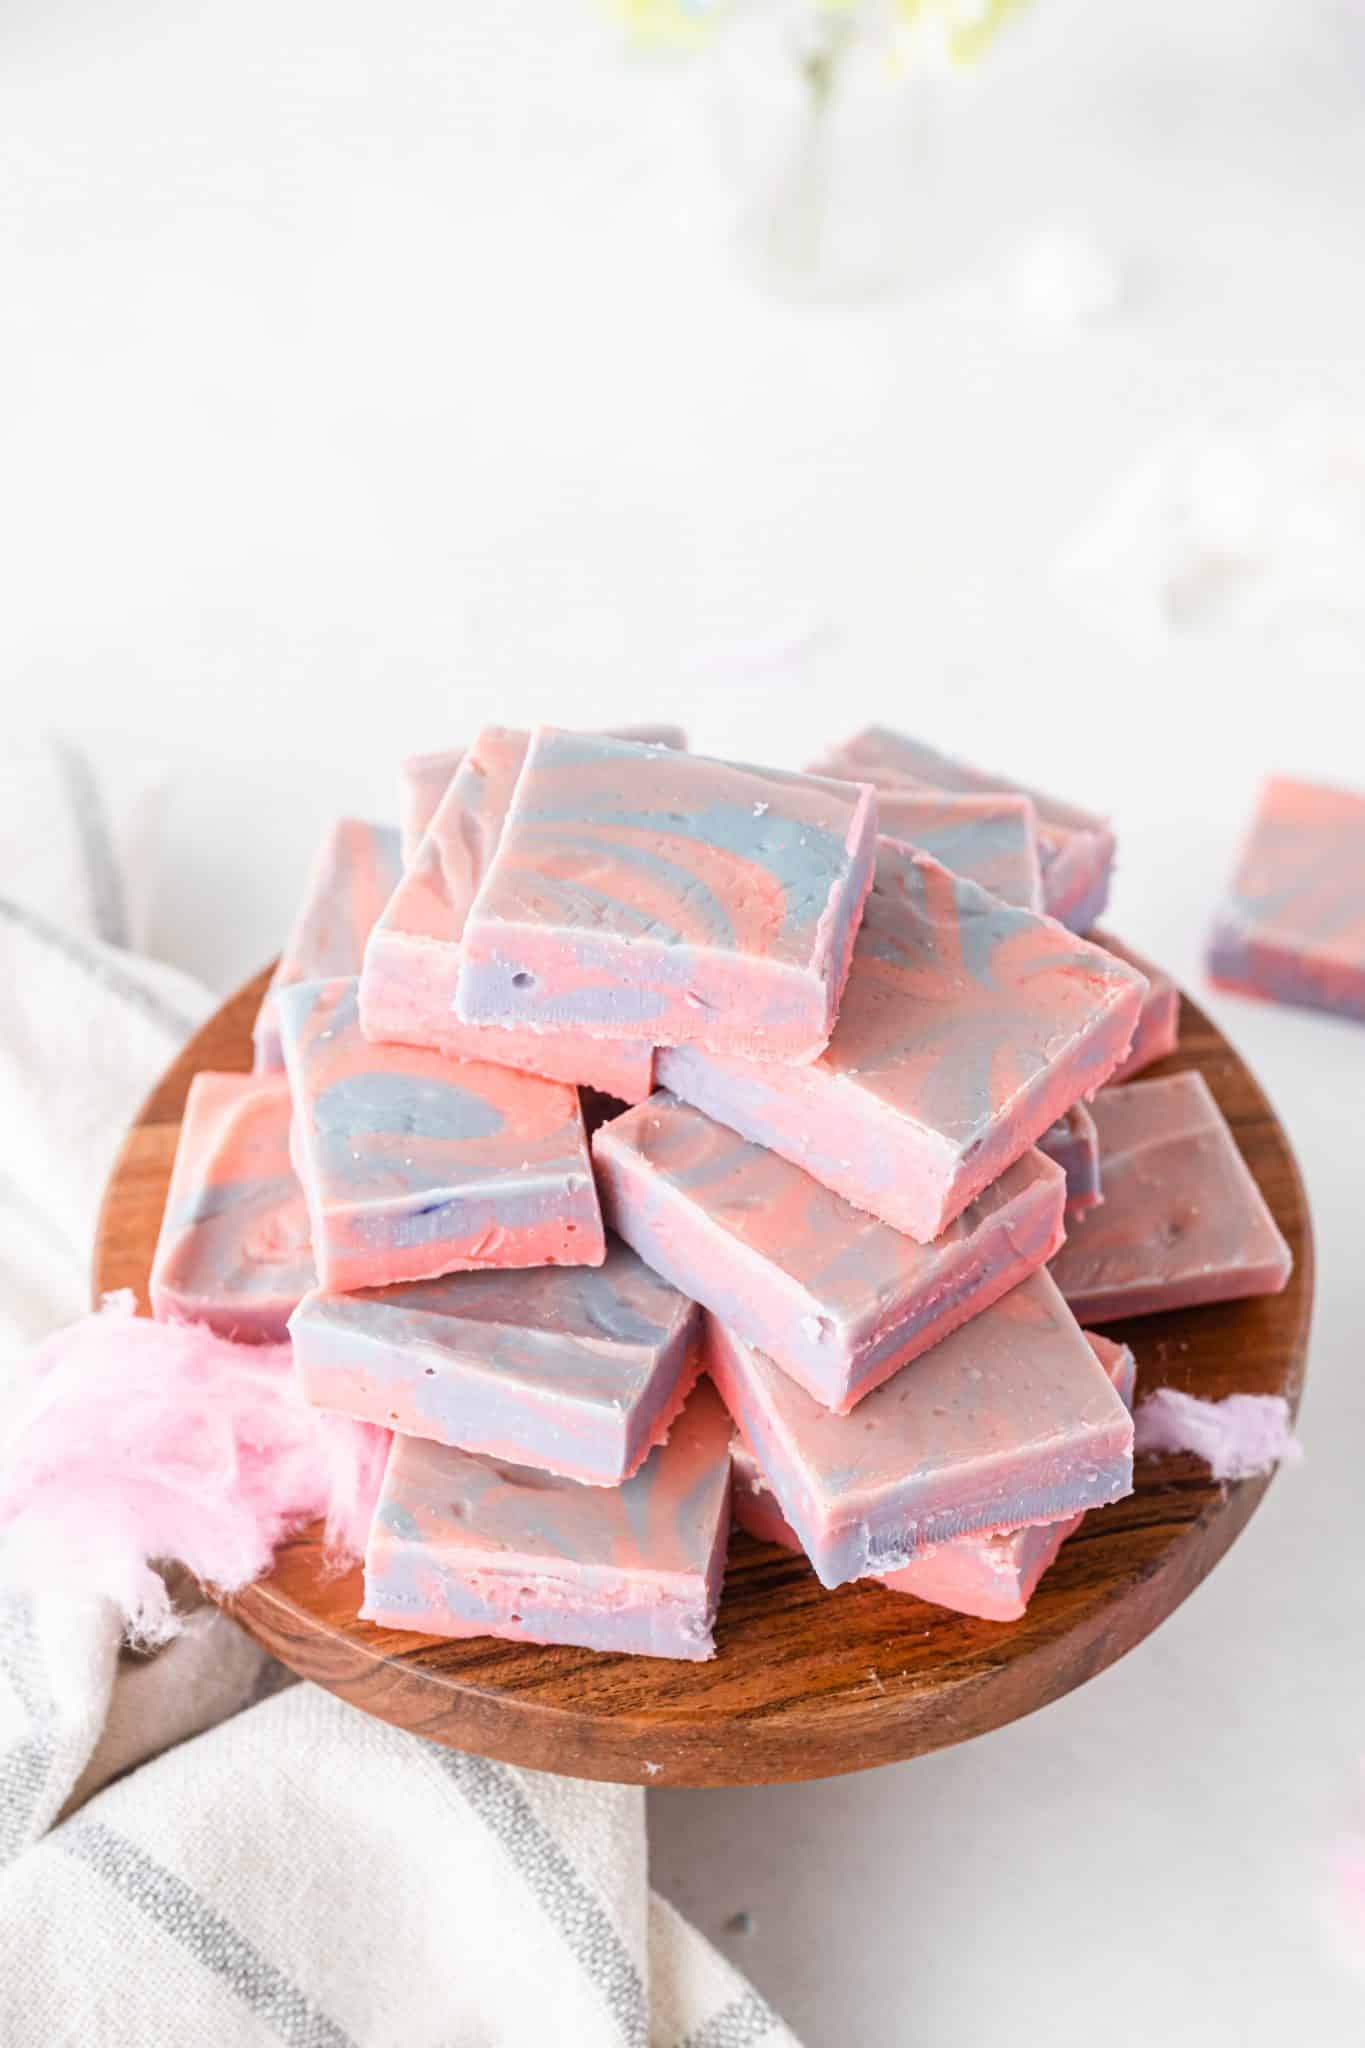
Fudge is one of my favorite treats of all time! There are so many possibilities, so many flavors! And I go absolutely nuts for the creamy and colorful flavors that can be made.
Want to save this recipe? Enter your email below and we’ll send the recipe straight to your inbox!
NOTE: By saving this recipe, you agree to join our weekly recipes newsletter.
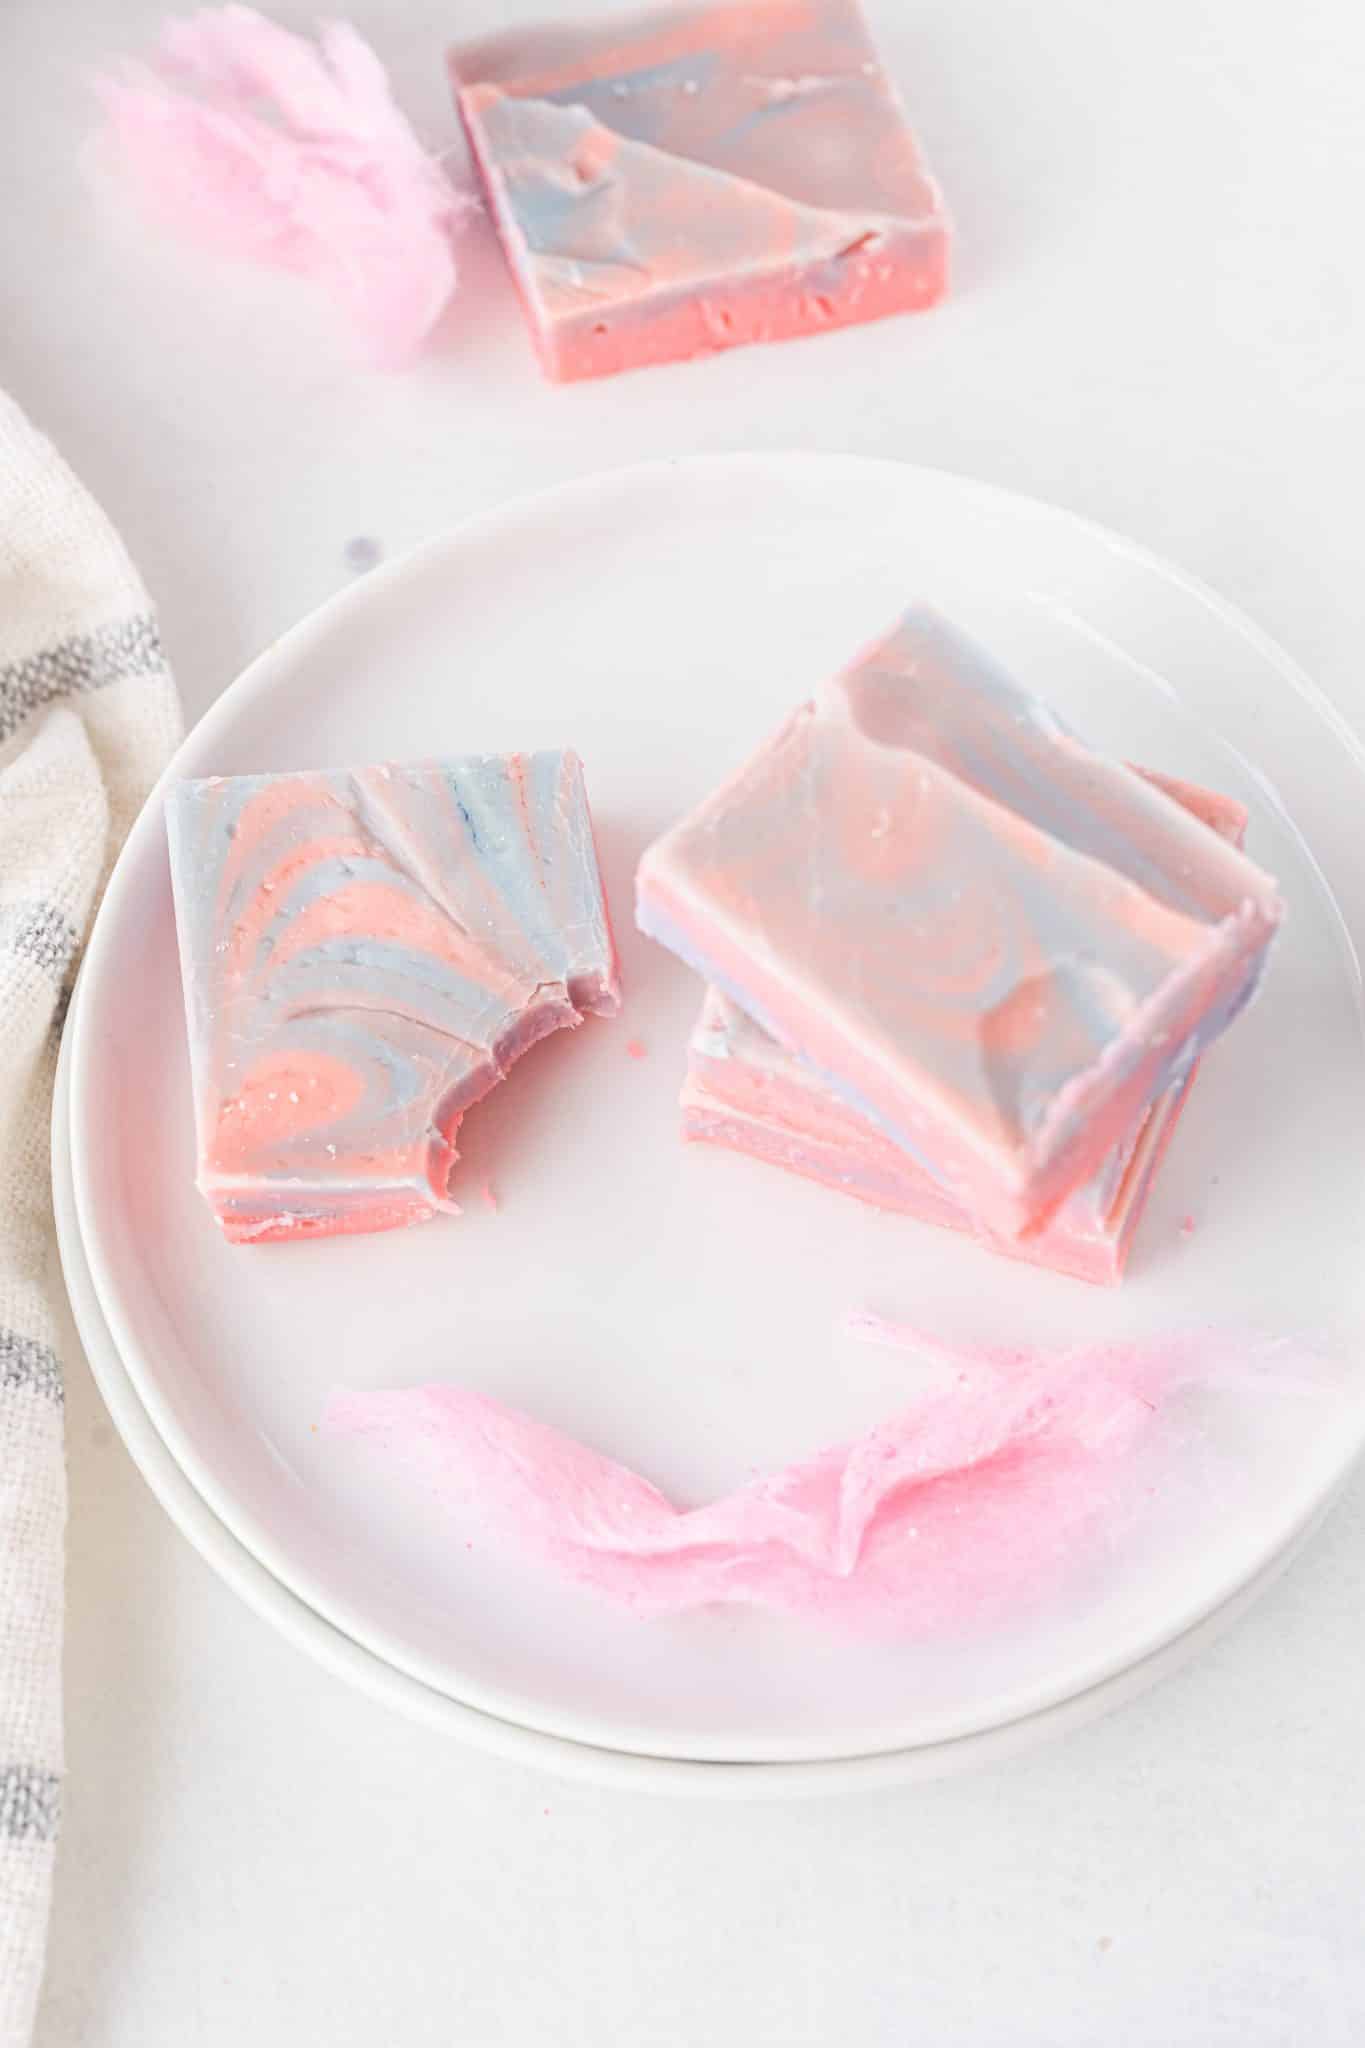
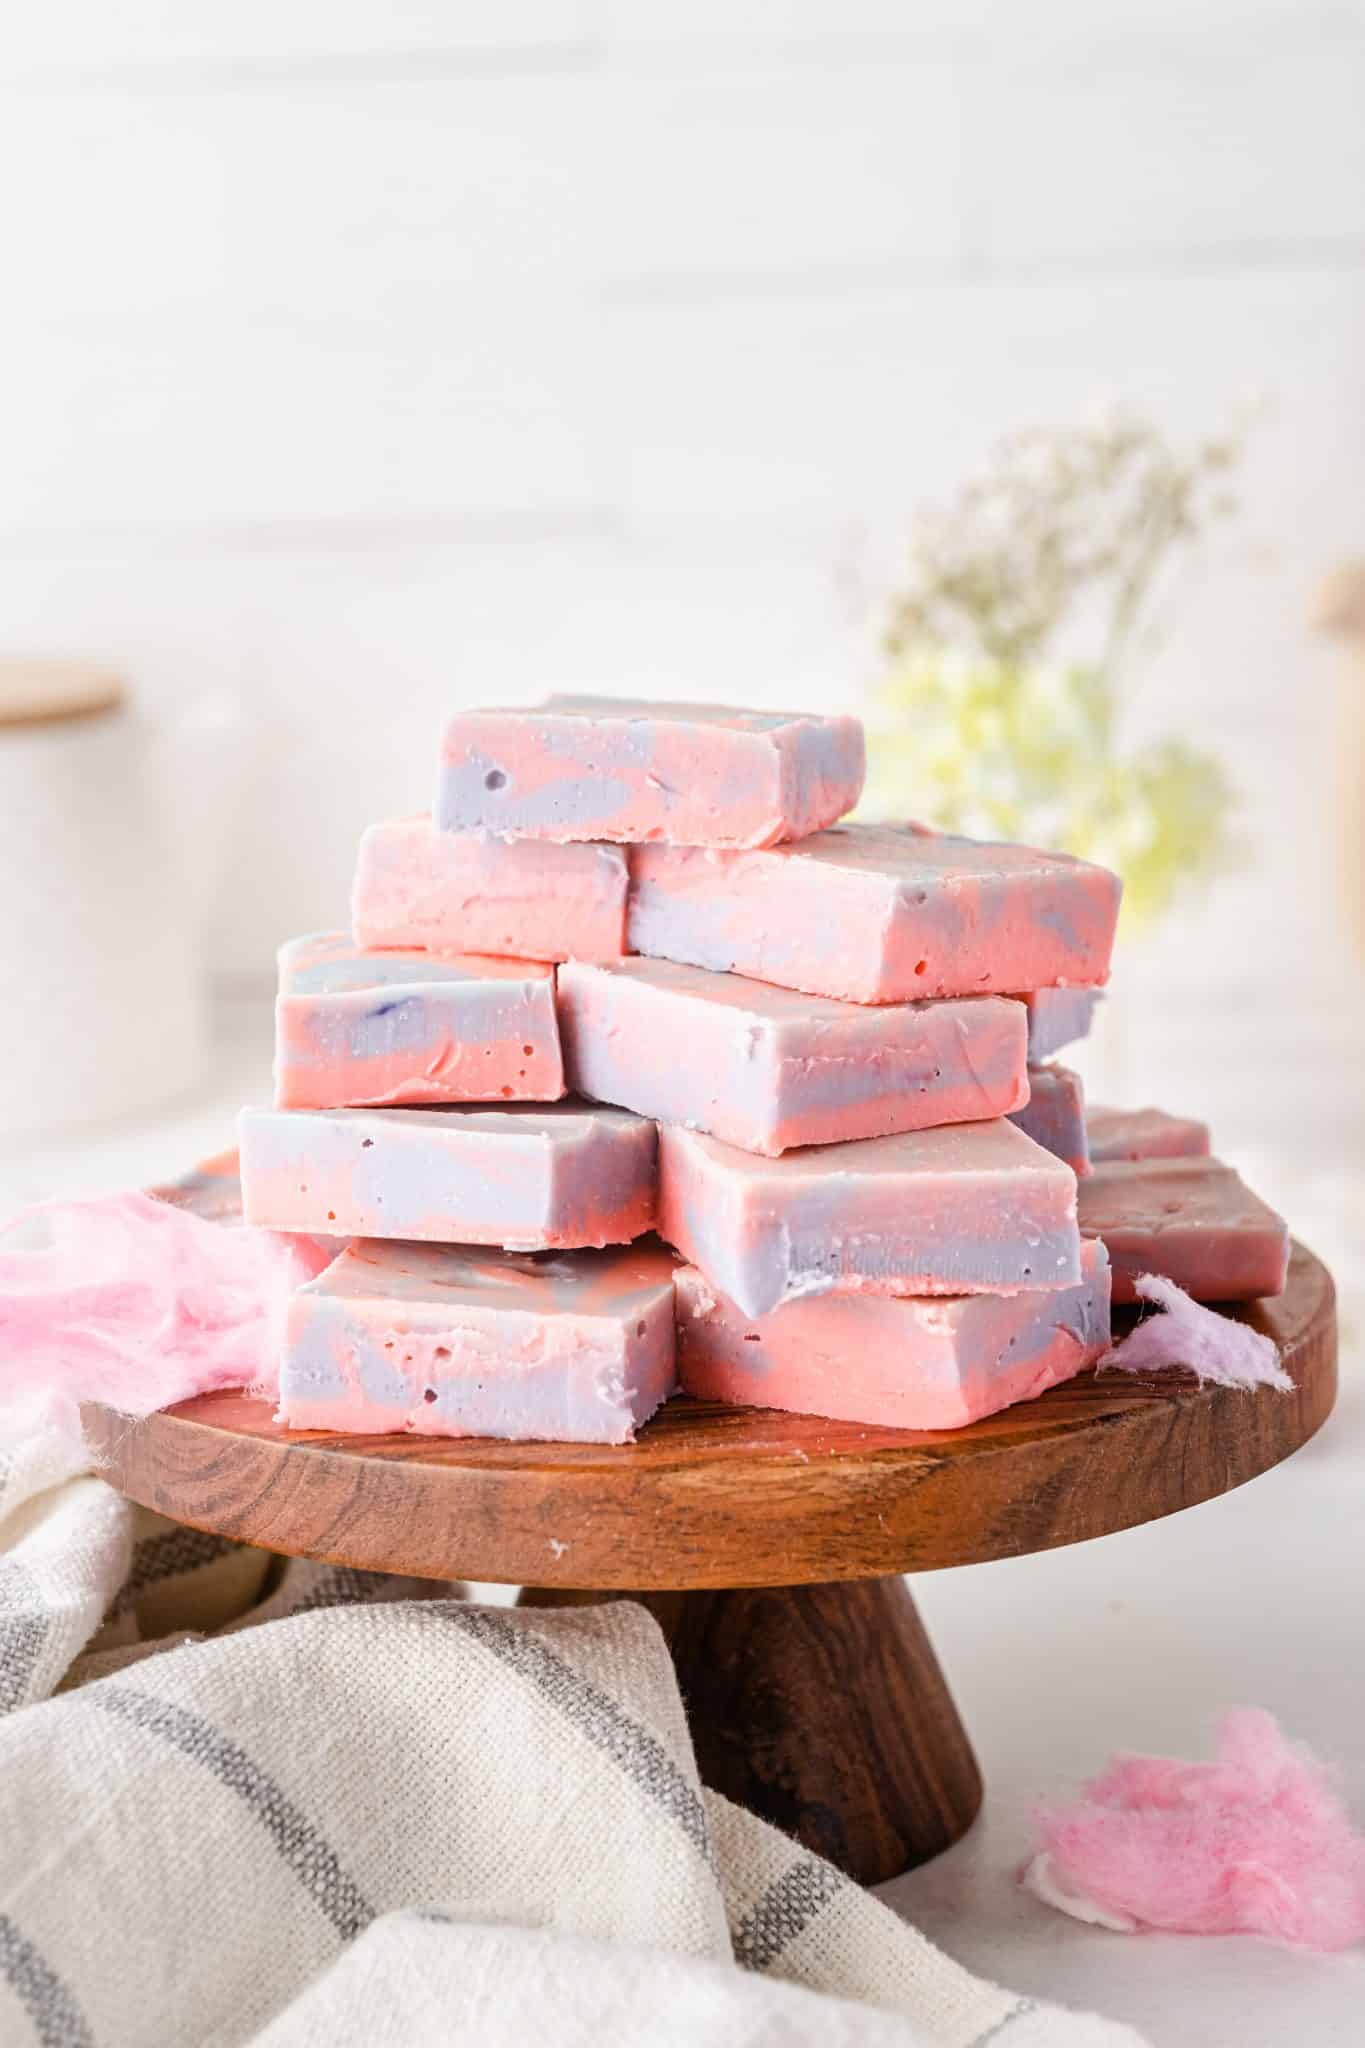
This Cotton Candy fudge is one of those. I enjoy making this one in the summertime, especially for picnics. The kids love the taste and of course they love the sugar.

I have to tell you that I have experimented with this fudge recipe many times. This is not a recipe that you want to be cheap on. Use the best quality of chips that you can, Ghiradelli is one of my favorites.

I also used a gel based food coloring rather than the liquid drops. The gel coloring combines so much smoother than the drops do. There is a more consistent coloring to it.
Frequently Asked Questions:
I have a flavoring for Cotton Candy, can I add that?
For more of a rich cotton candy flavor, yes you can add the additional flavor.
Can I use the microwave to heat up the chocolate chips?
You can, I prefer to use the saucepan as it is more consistent of a melt. You need to stir often to continually melt the white chocolate chips and prevent any burn to the mix. Stirring often will also prevent the white chocolate from seizing up.
How do I store this fudge?
For short amounts of time, the fudge can be left on a plate on the counter. When it is not being served, it should be placed in an airtight container and stored in the refrigerator.
Can I freeze this treat?
Fudge can be stored in an airtight container for up to one month in the freezer.
What do you need to make Cotton Candy Fudge
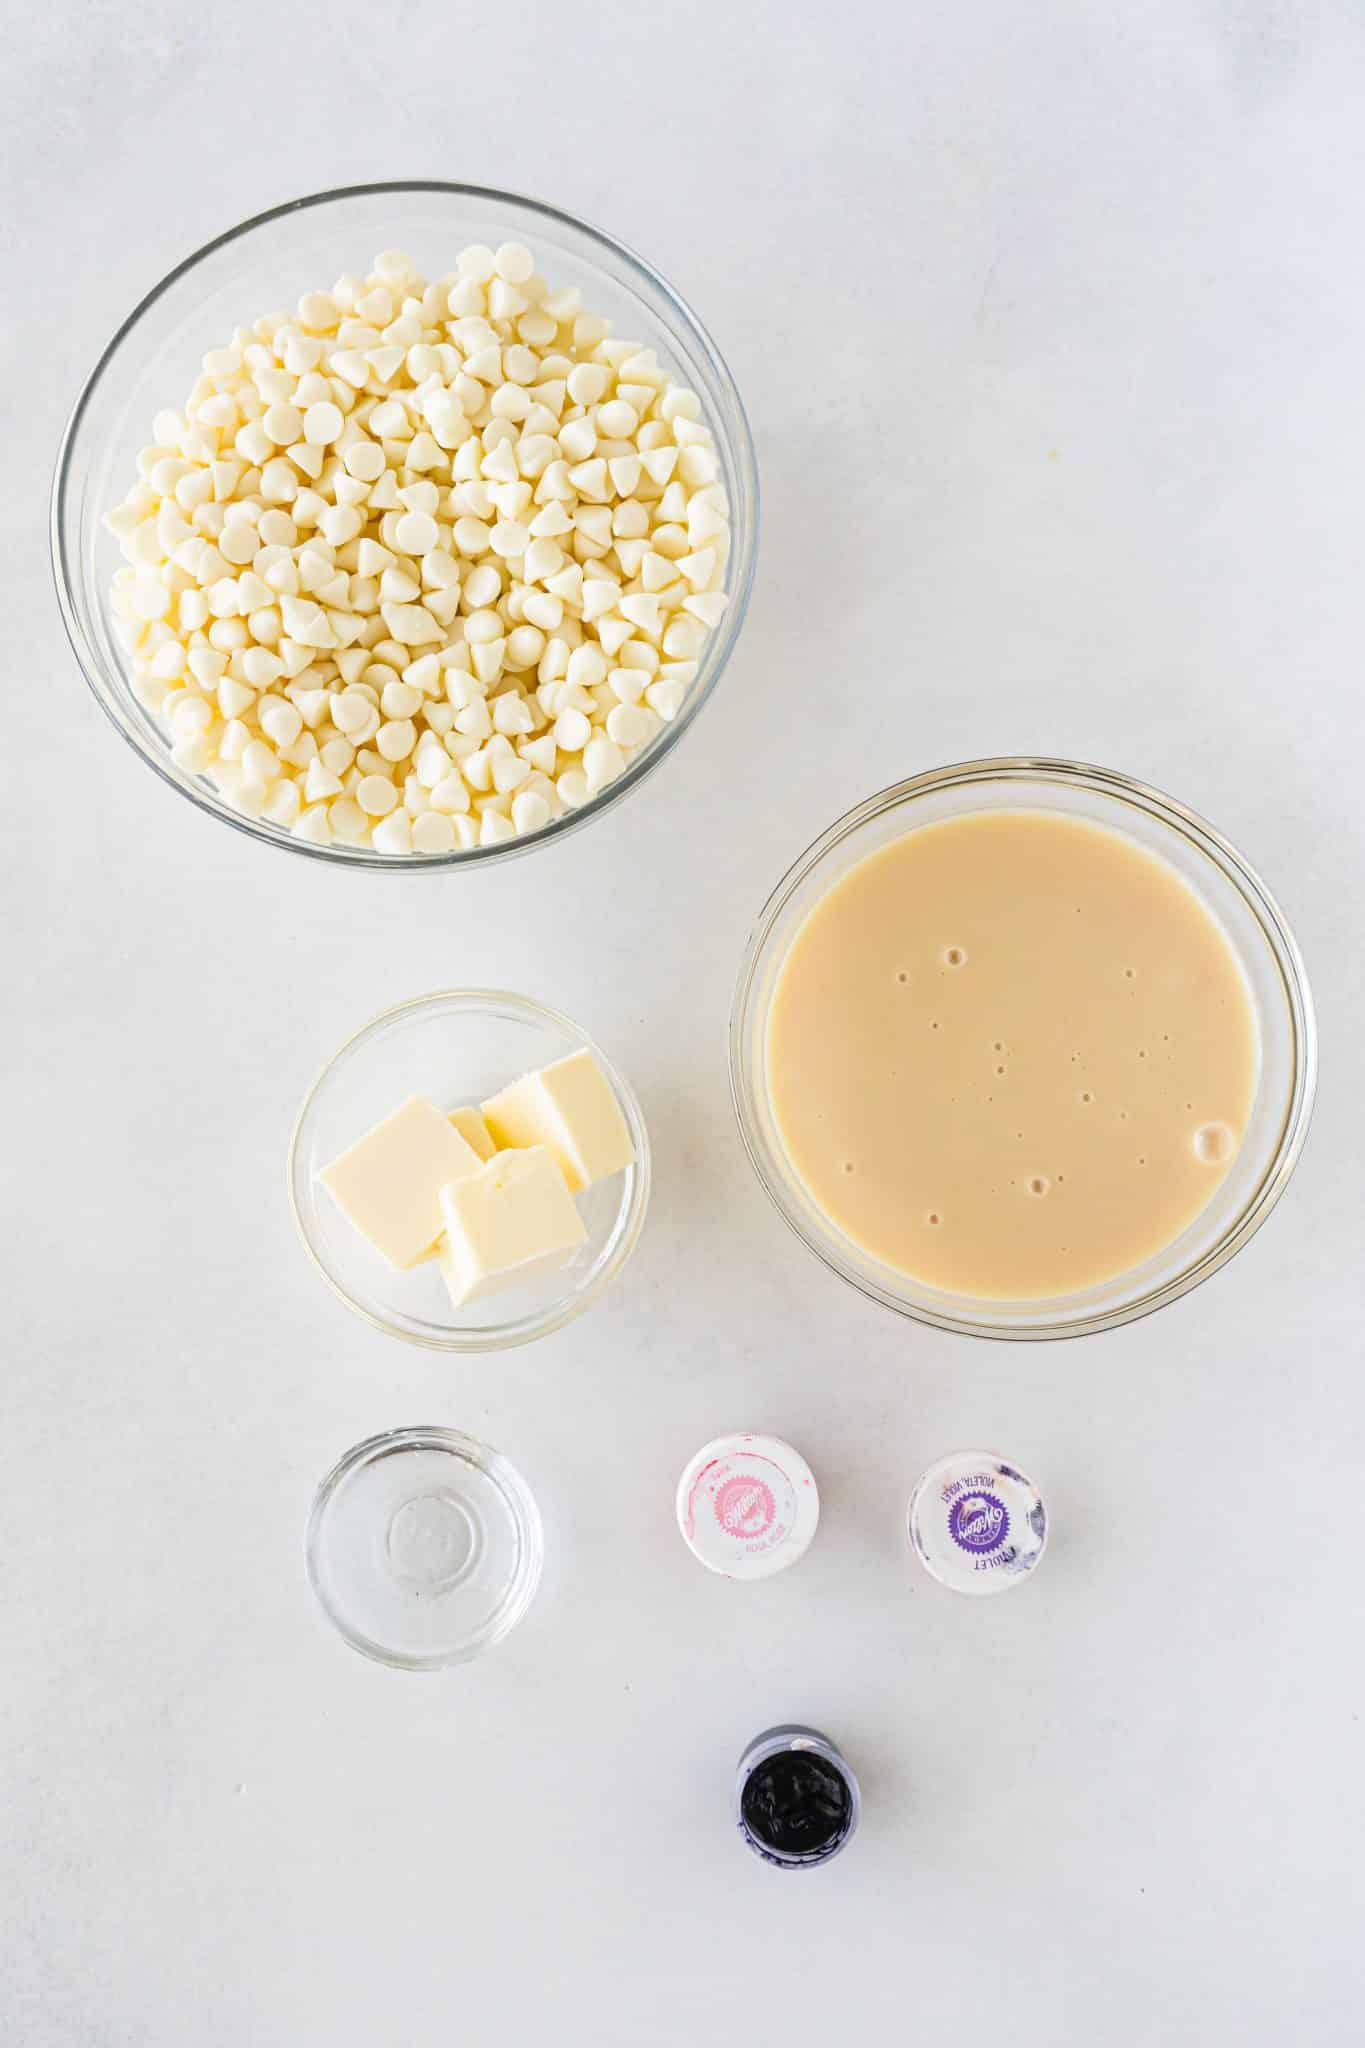
22 ounces of white chocolate chips, use a good brand
1 can of sweetened condensed milk
¼ cup butter, room temperature and unsalted
2 tsp Cotton Candy Food Flavoring
½ to ¾ tsp purple food gel
½ to ¾ pink food gel
How to make Cotton Candy Fudge
FIRST STEP:
Line your 8×8 pan with parchment paper. Be sure to use long enough sheets to go up all sides. These will be used to remove the fudge from the pan later
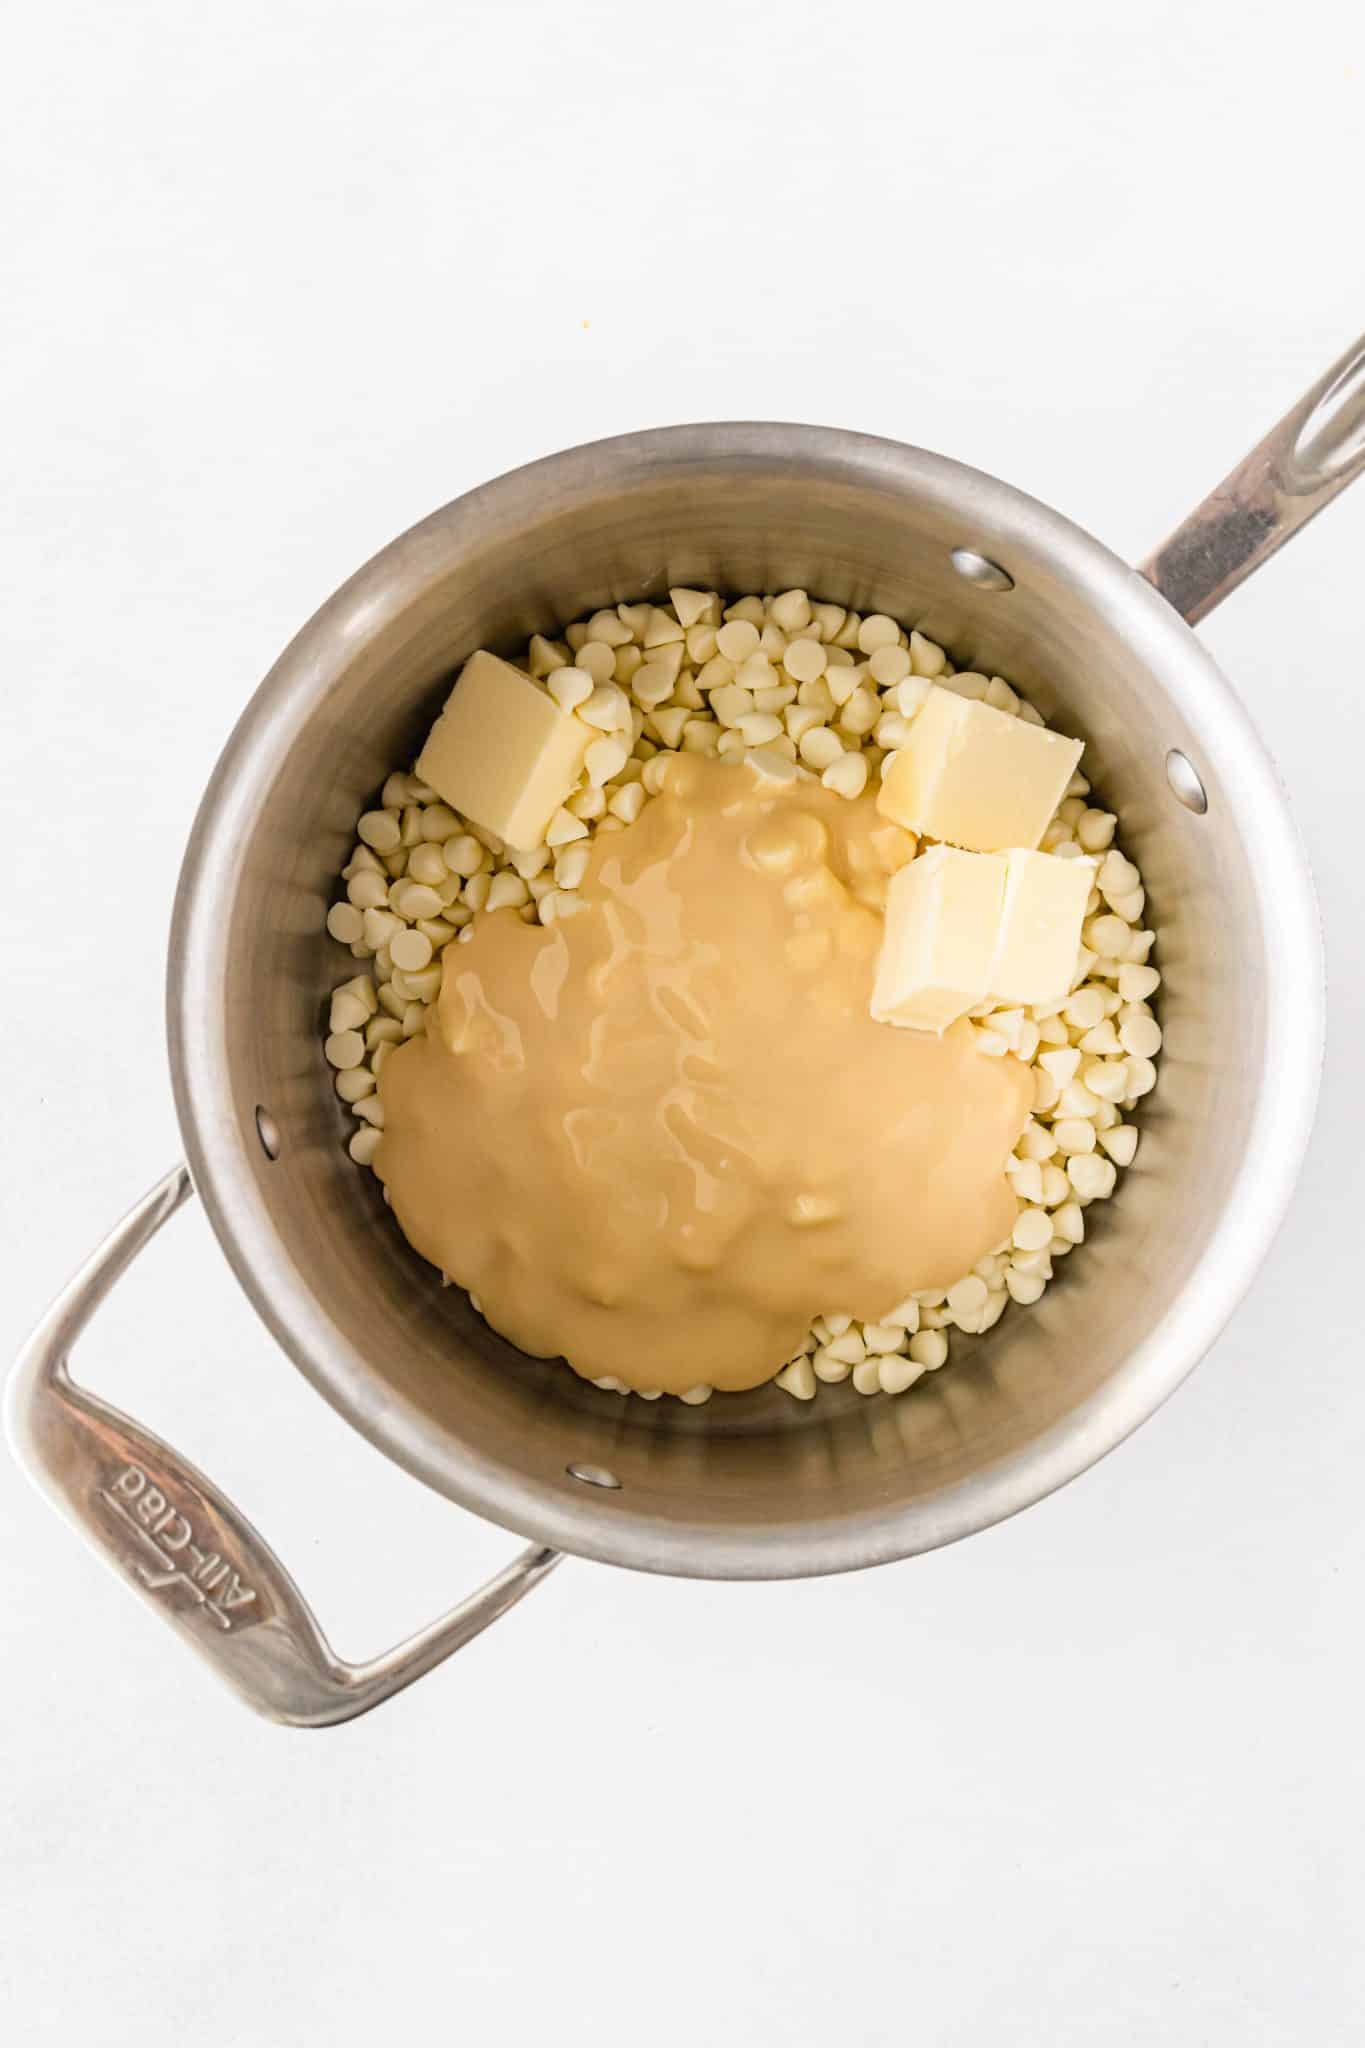
In a saucepan, over low to medium heat, melt the white chocolate chips, the sweetened condensed milk and the butter, until it is completely melted.
Stir often to keep the mixture smooth and prevent burning
a)
b)
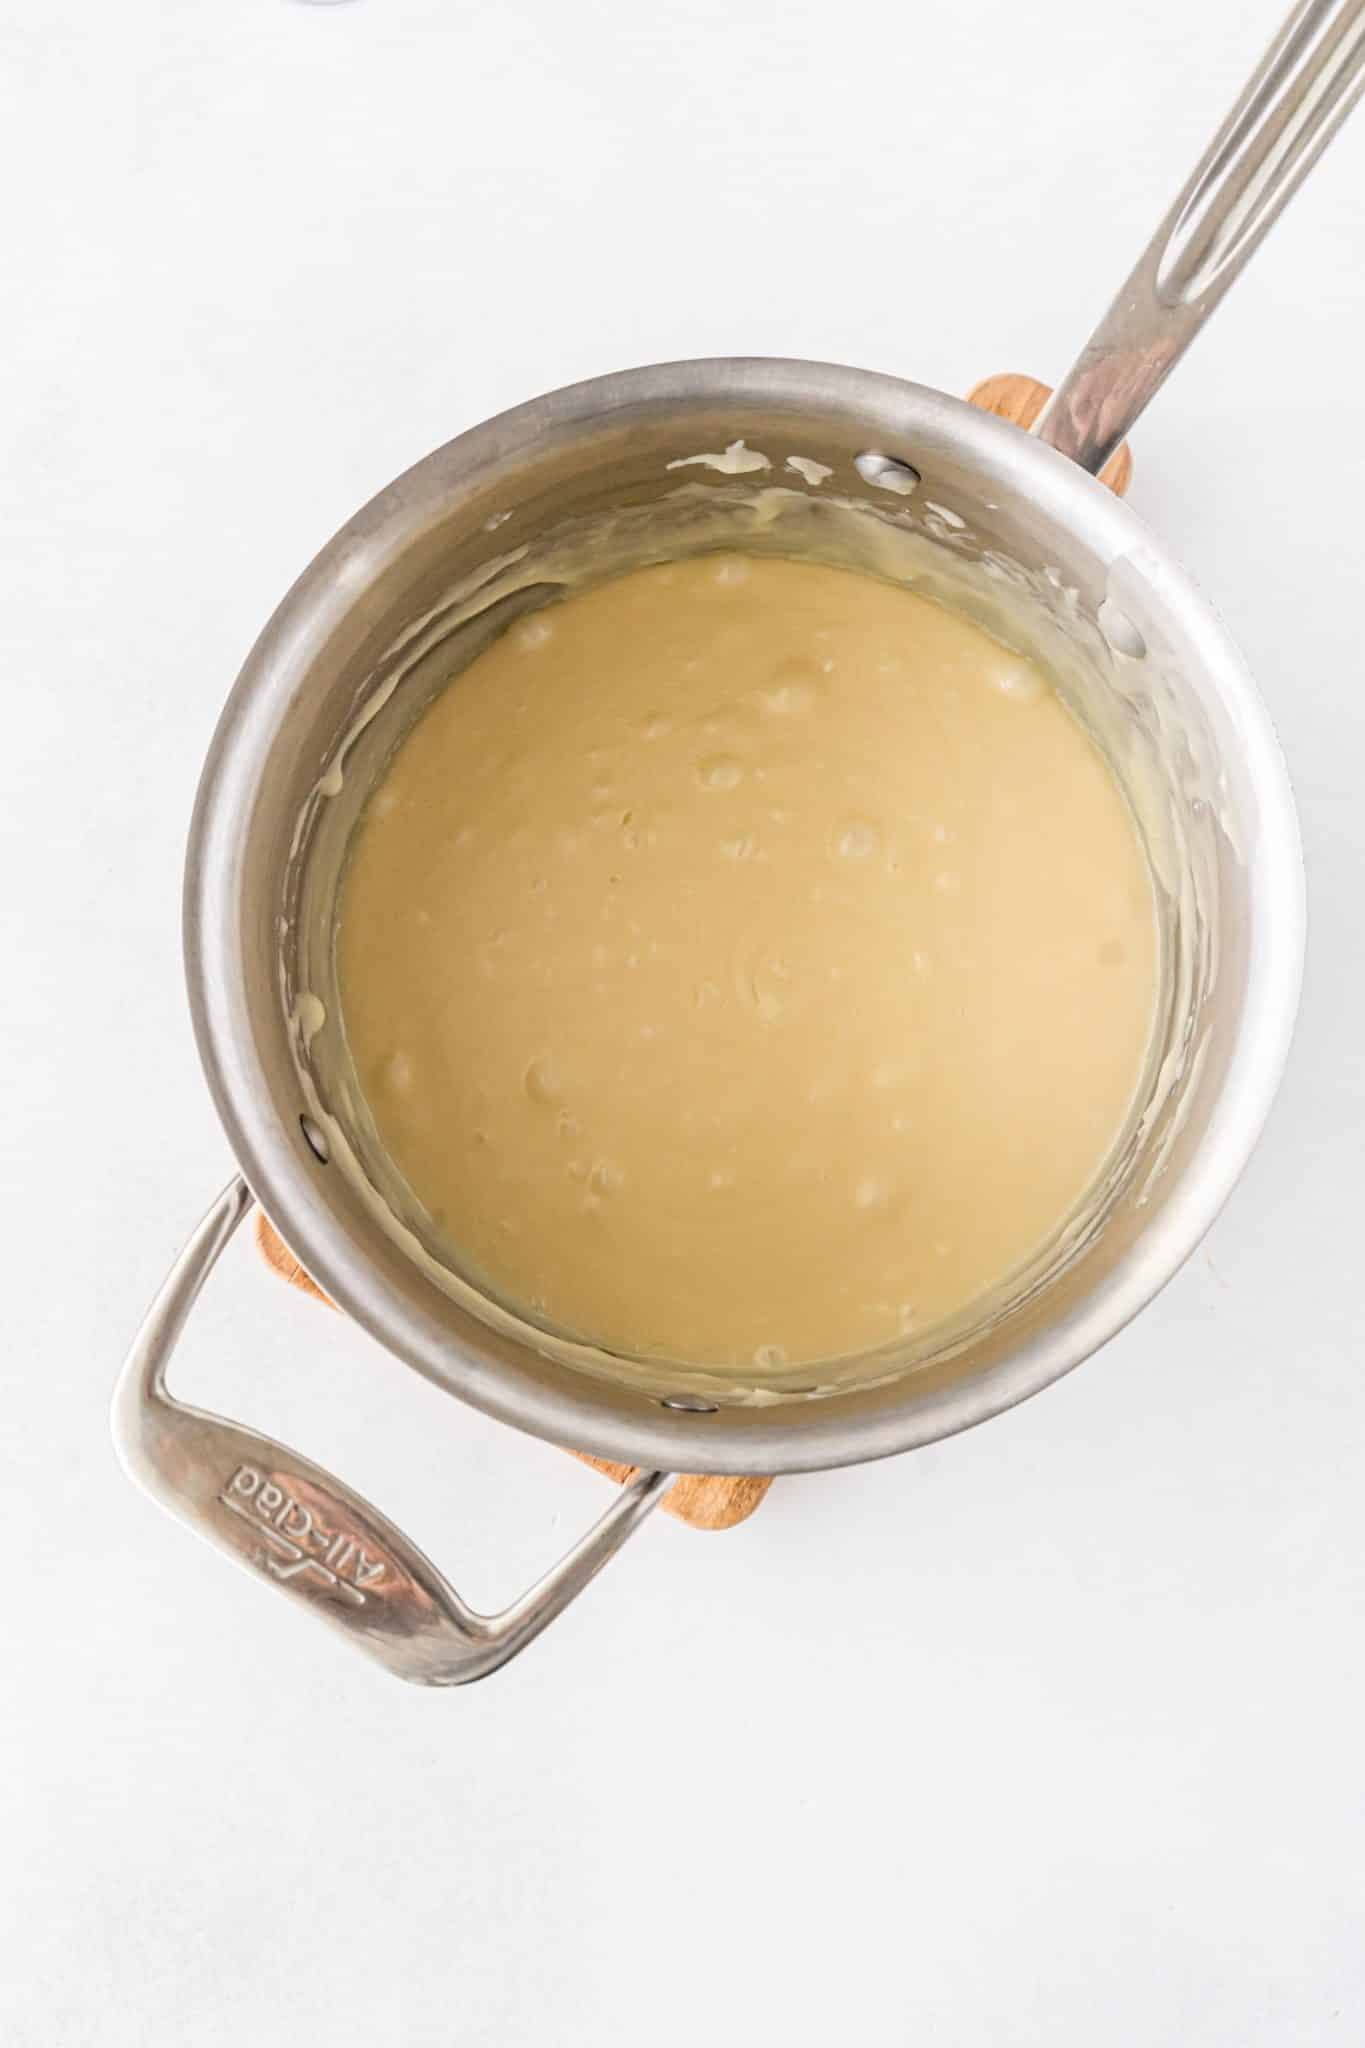
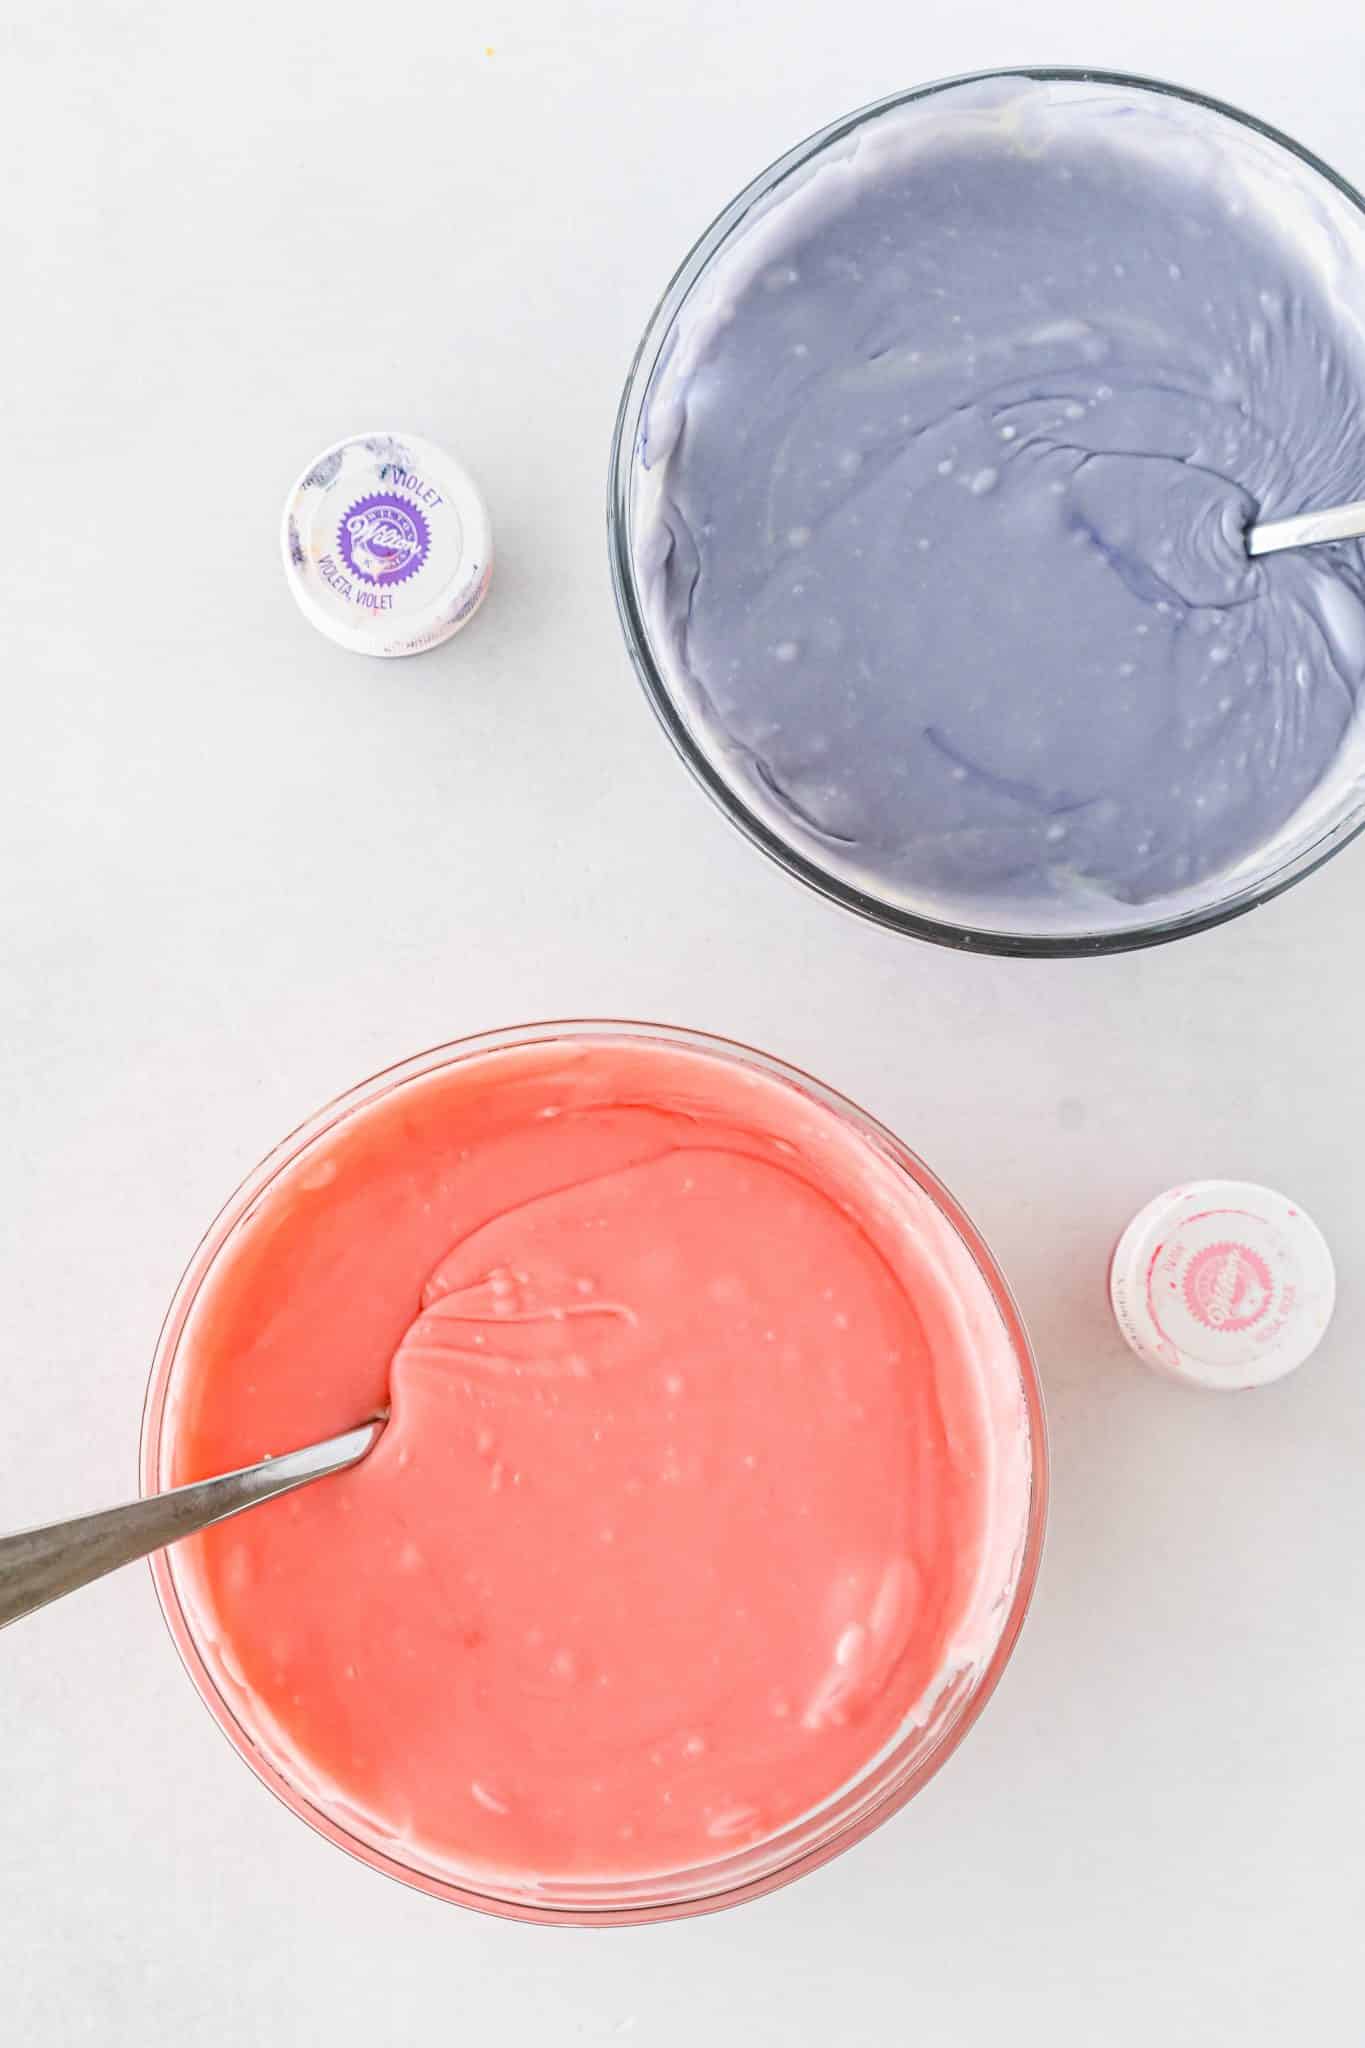
Once melted, separate the mix equally into two separate bowls
SECOND STEP:
In one add the purple food gel coloring and stir. You have to work fast at this step for both bowls so the fudge does not begin to harden
In the other bowl, add the pink gel food coloring and stir. Again, you need to work fast to prevent hardening of the fudge
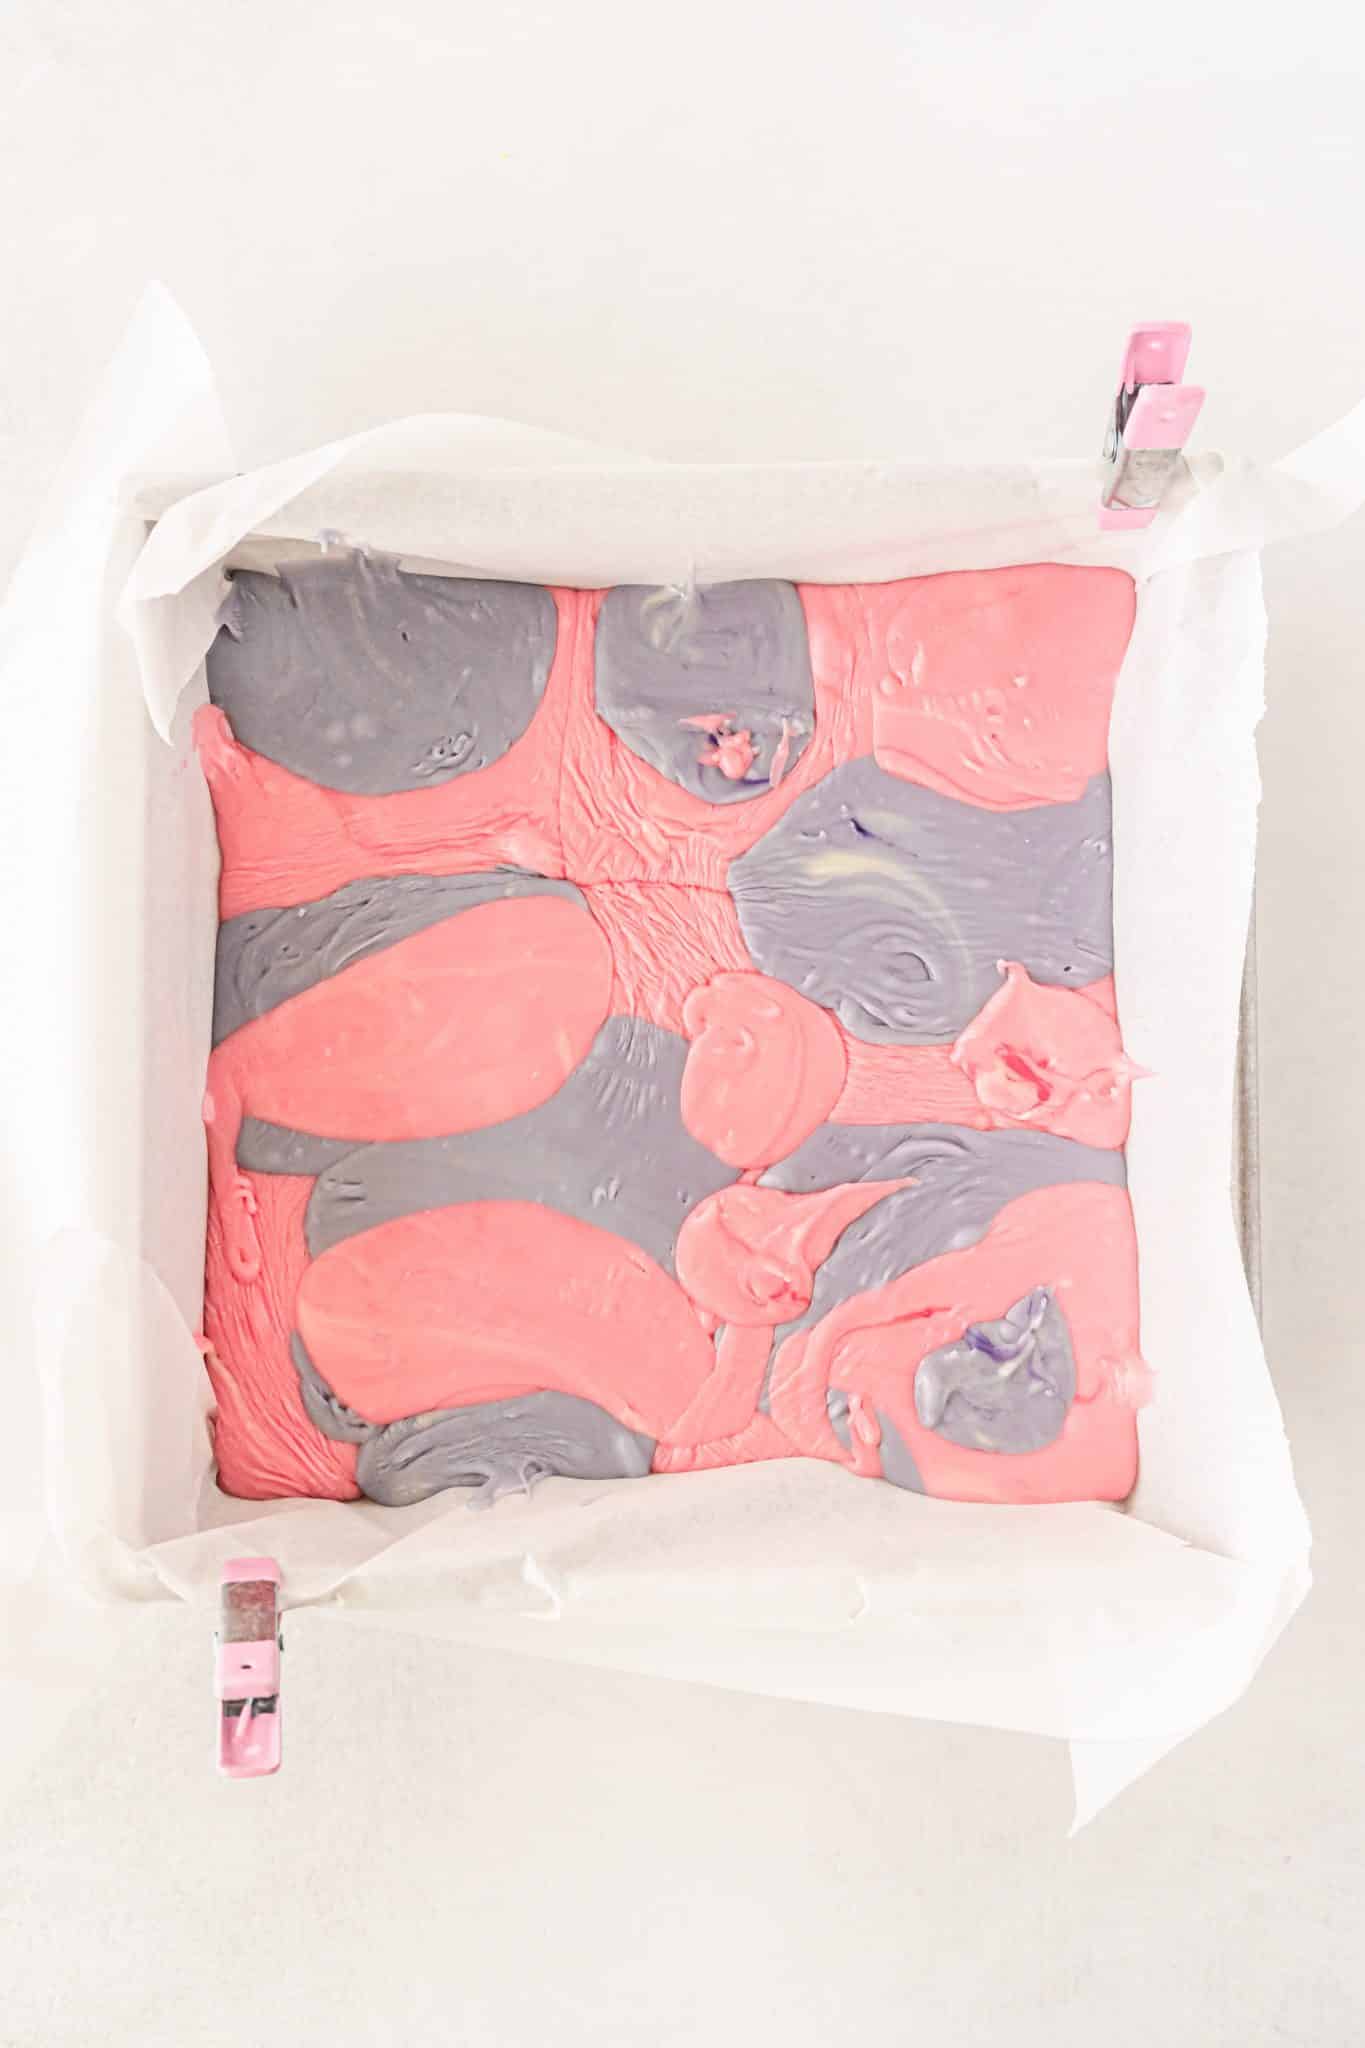
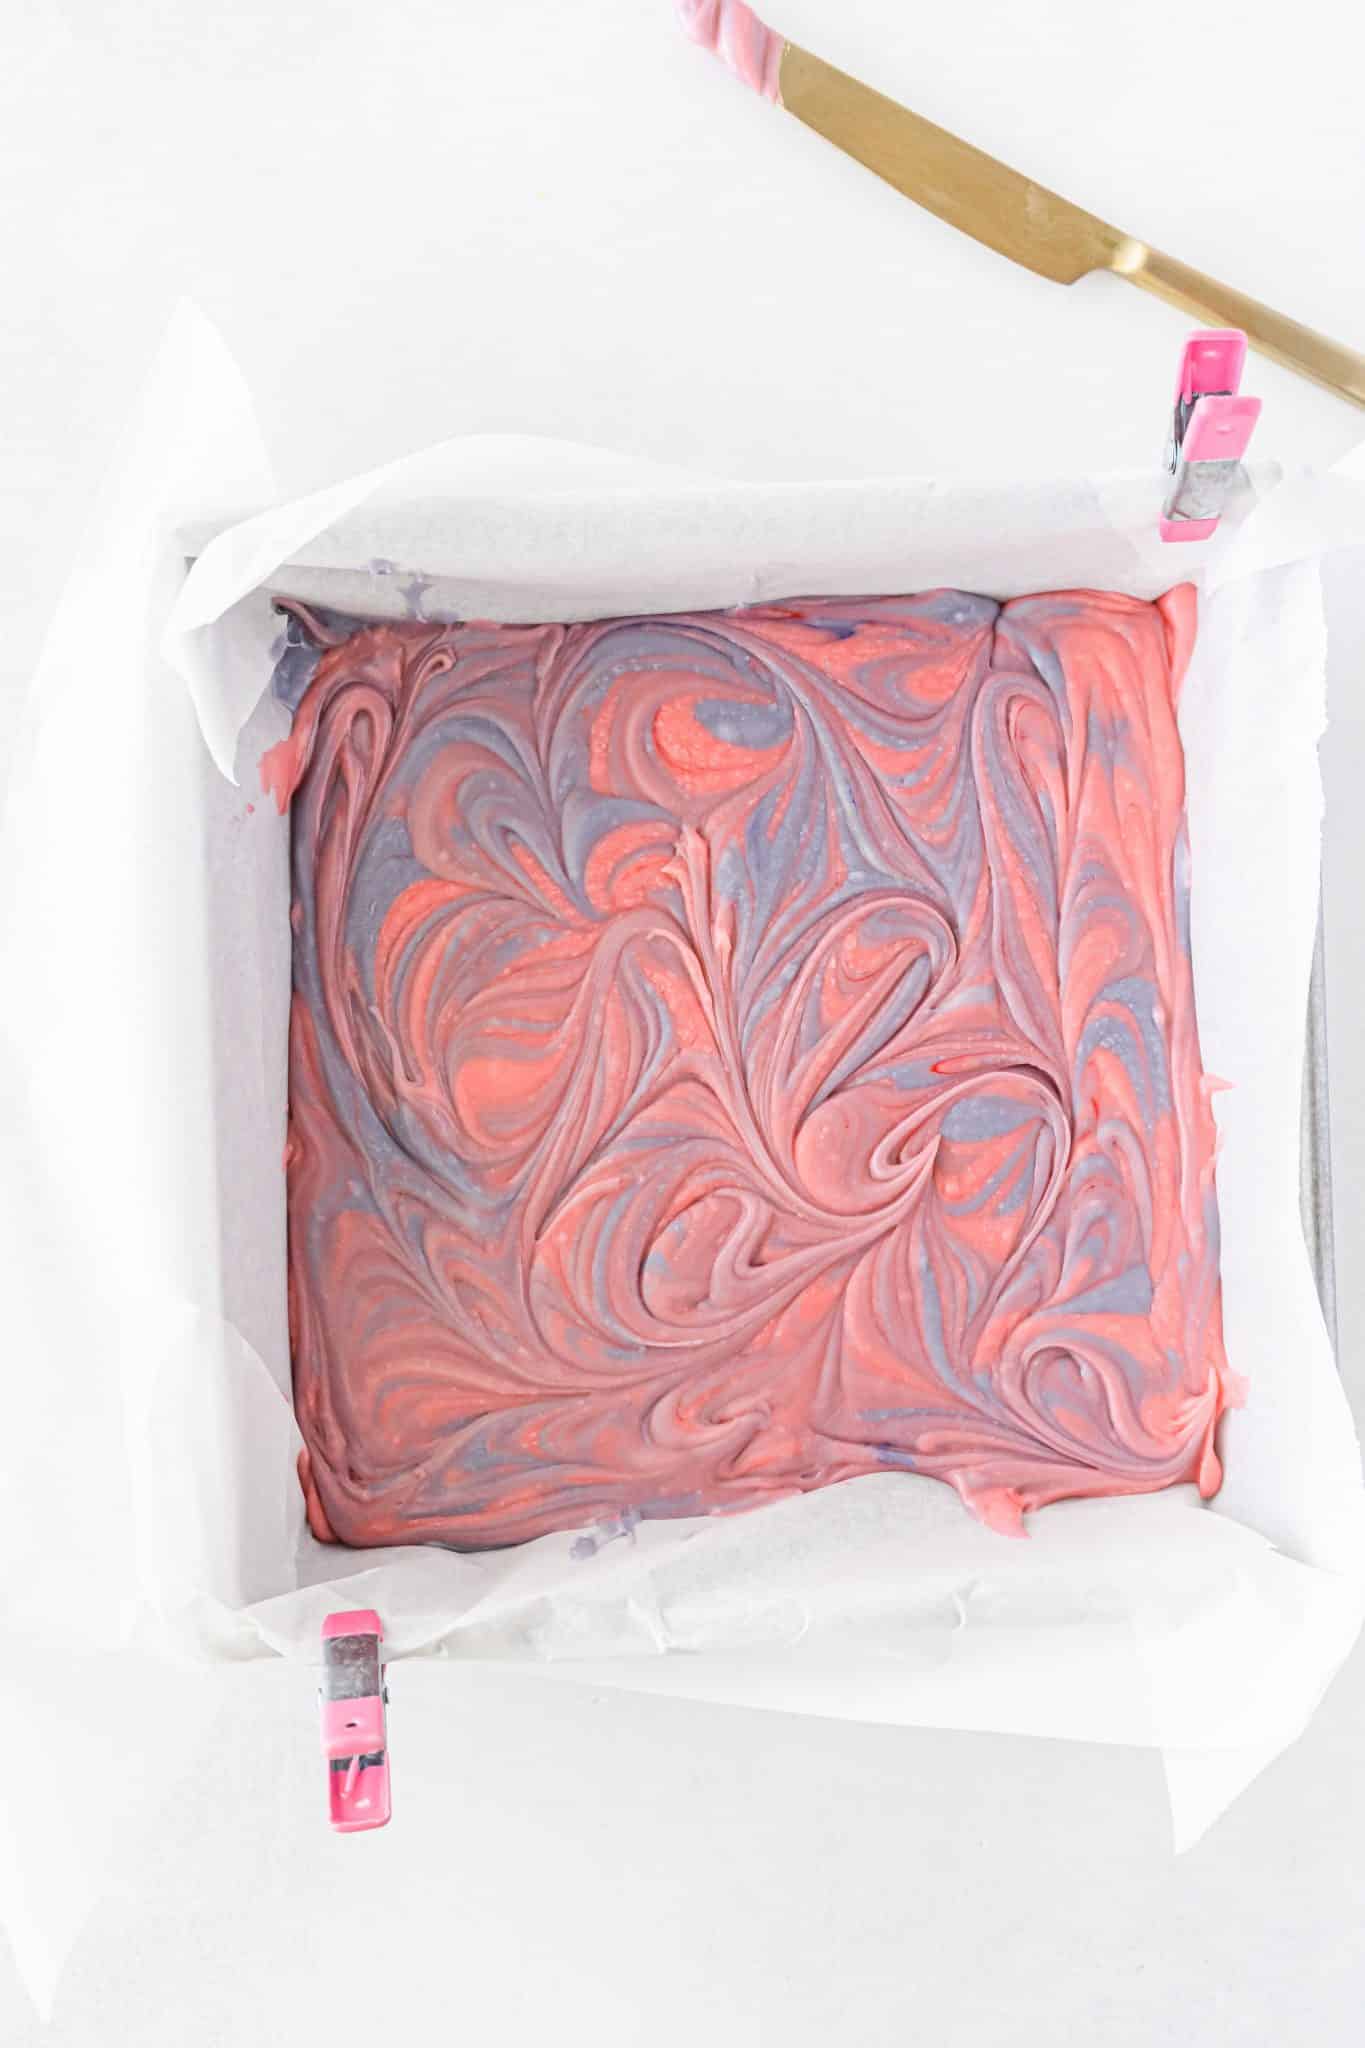
Drop by spoonfuls into the prepared pan, being sure to overlap the colors
a)
b)
c)
THIRD STEP:
Using a wide blade knife or a thin spatula, begin to weave the utensil through the fudge, both colors to create a marbling design.
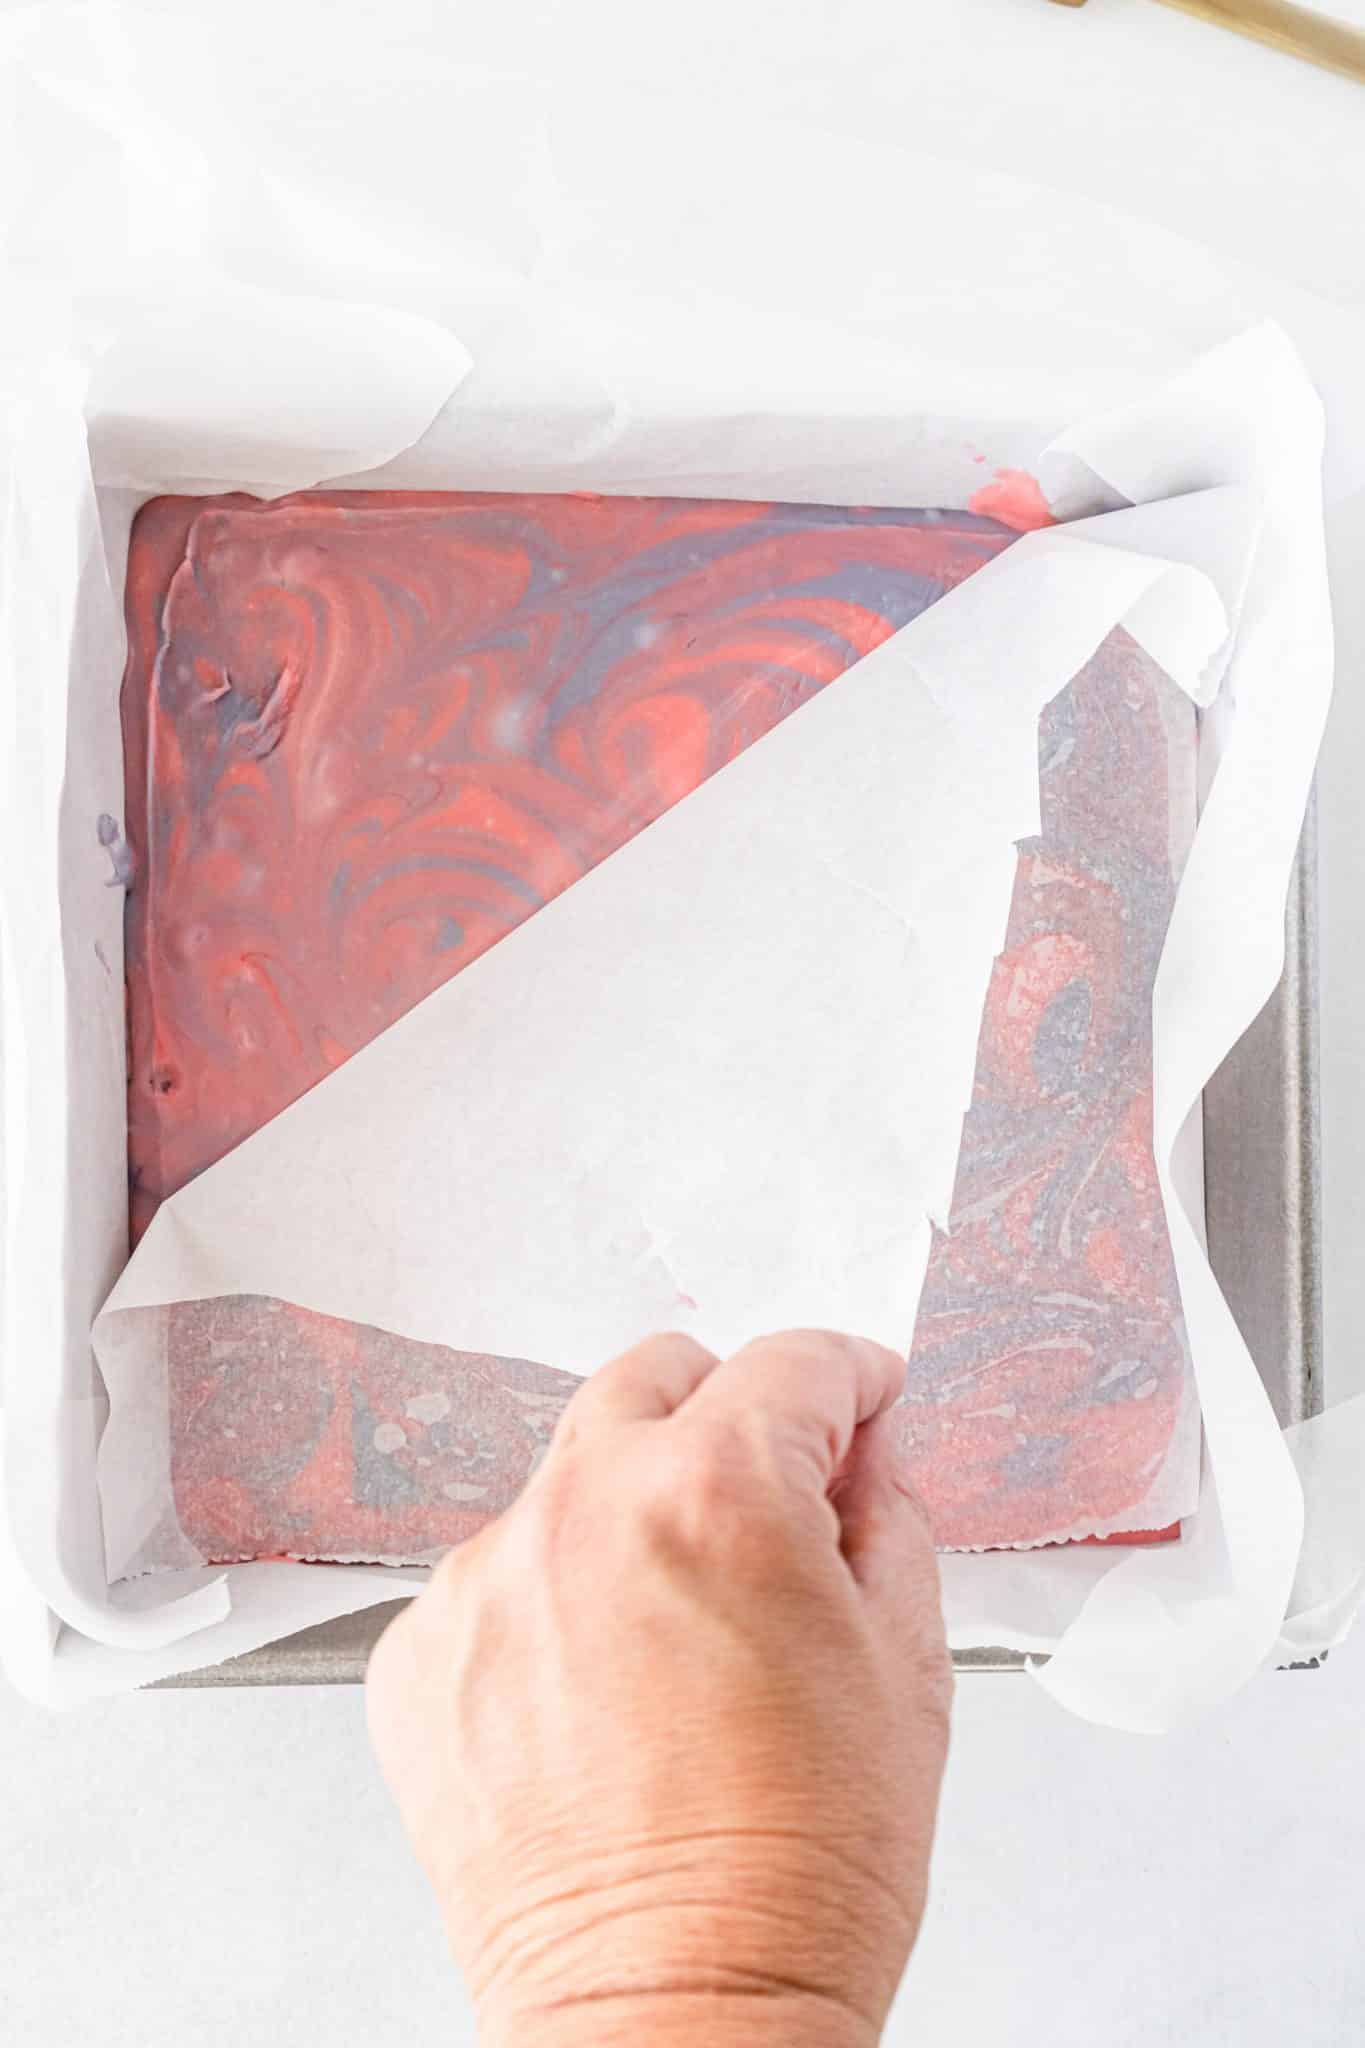
Cover with a sheet of parchment paper and gently push down with your hands to make the fudge into an even layer.
It is best to not remove the top sheet of parchment until after the fudge has set completely.
a)
b)
c)
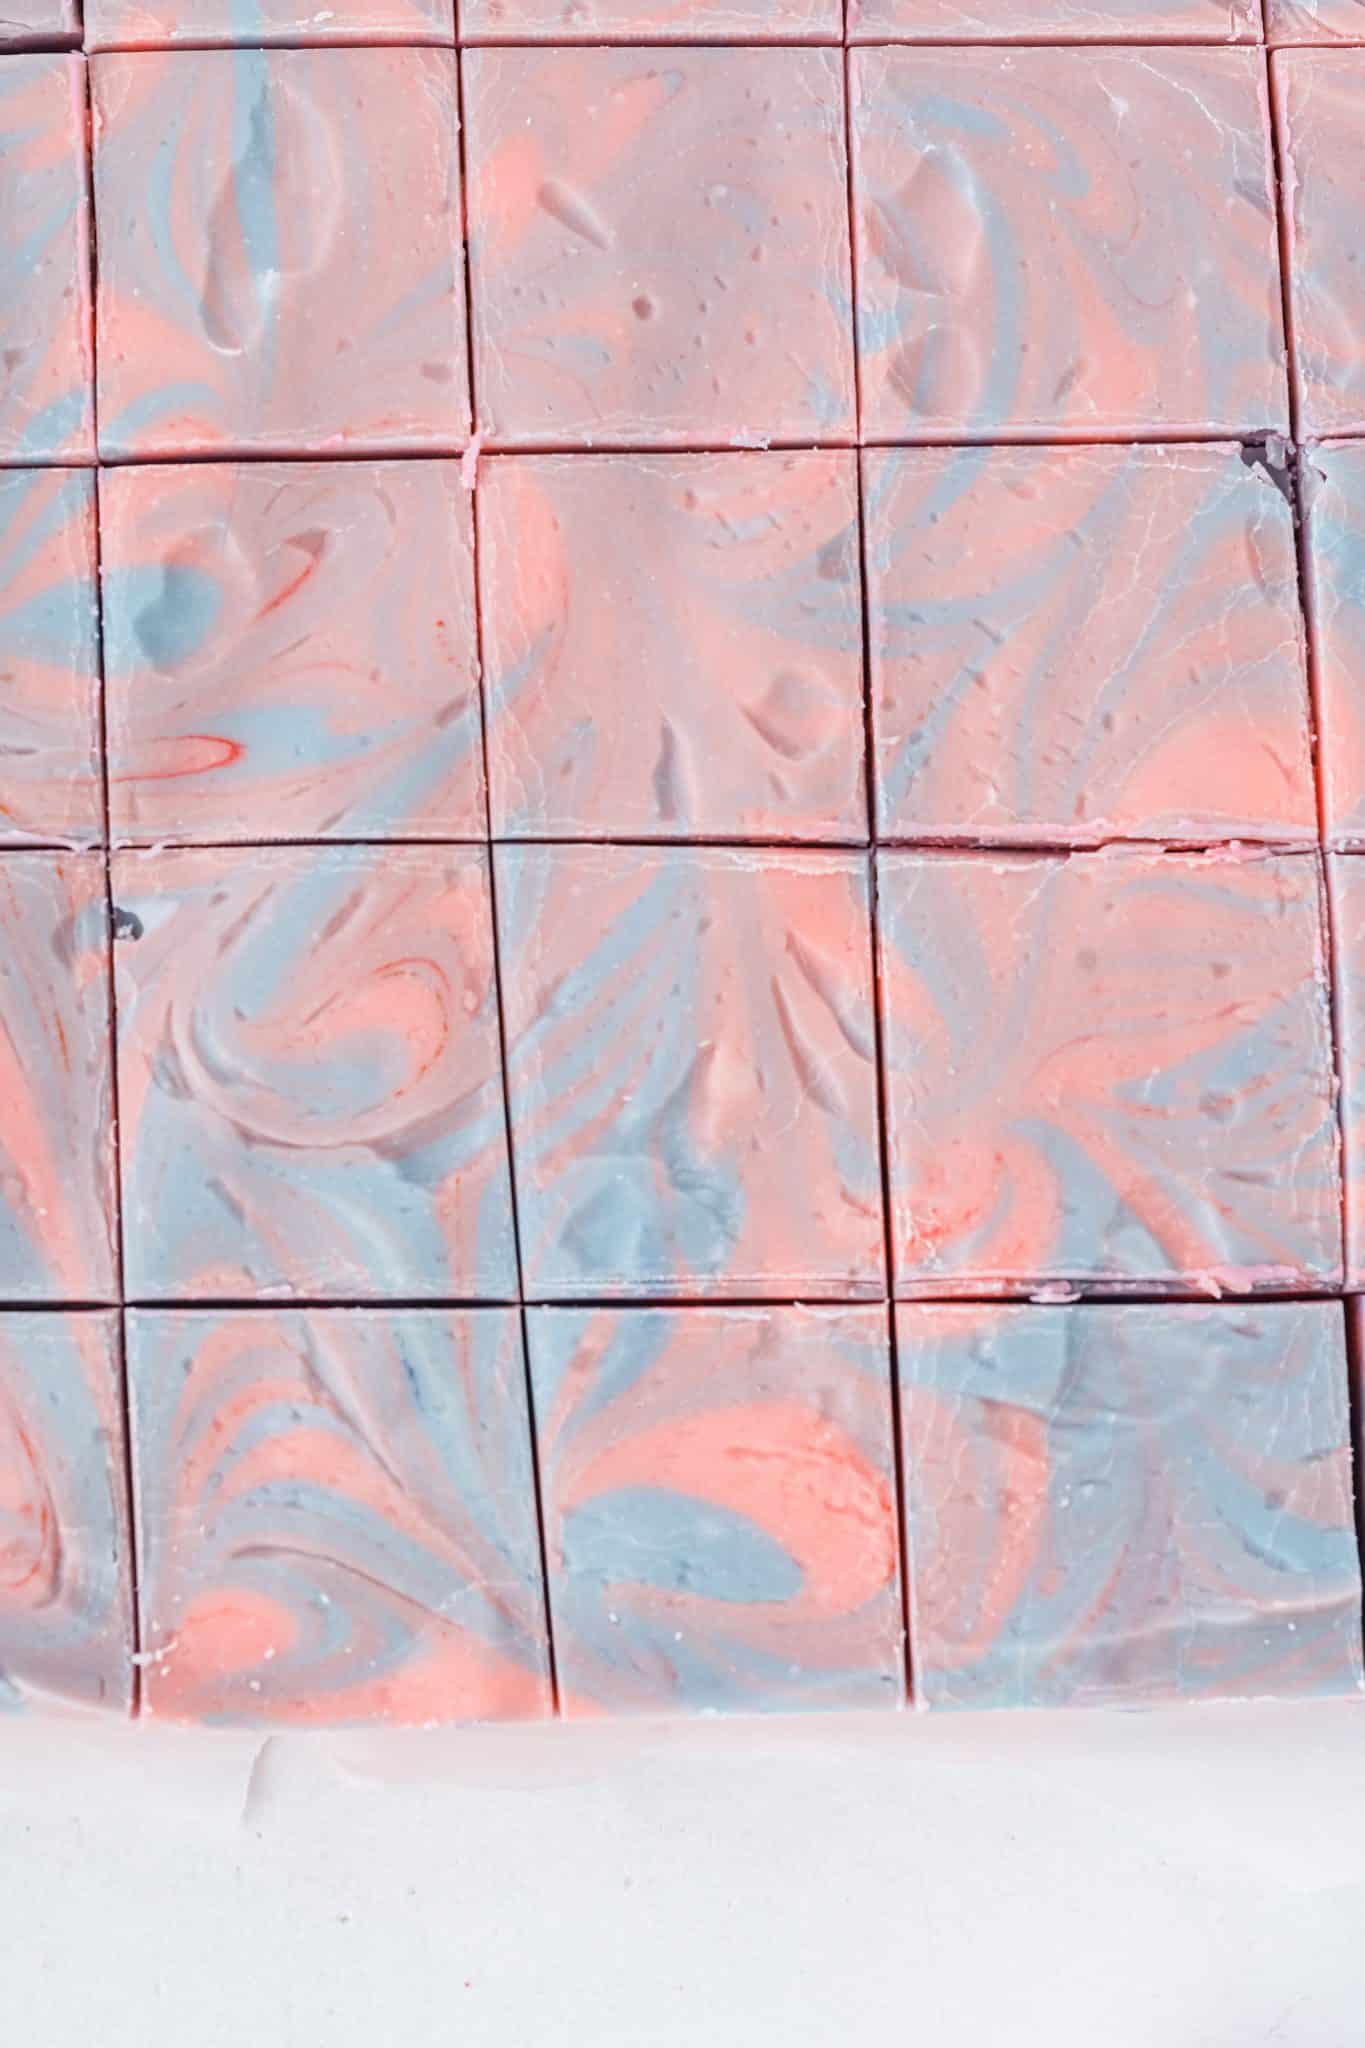
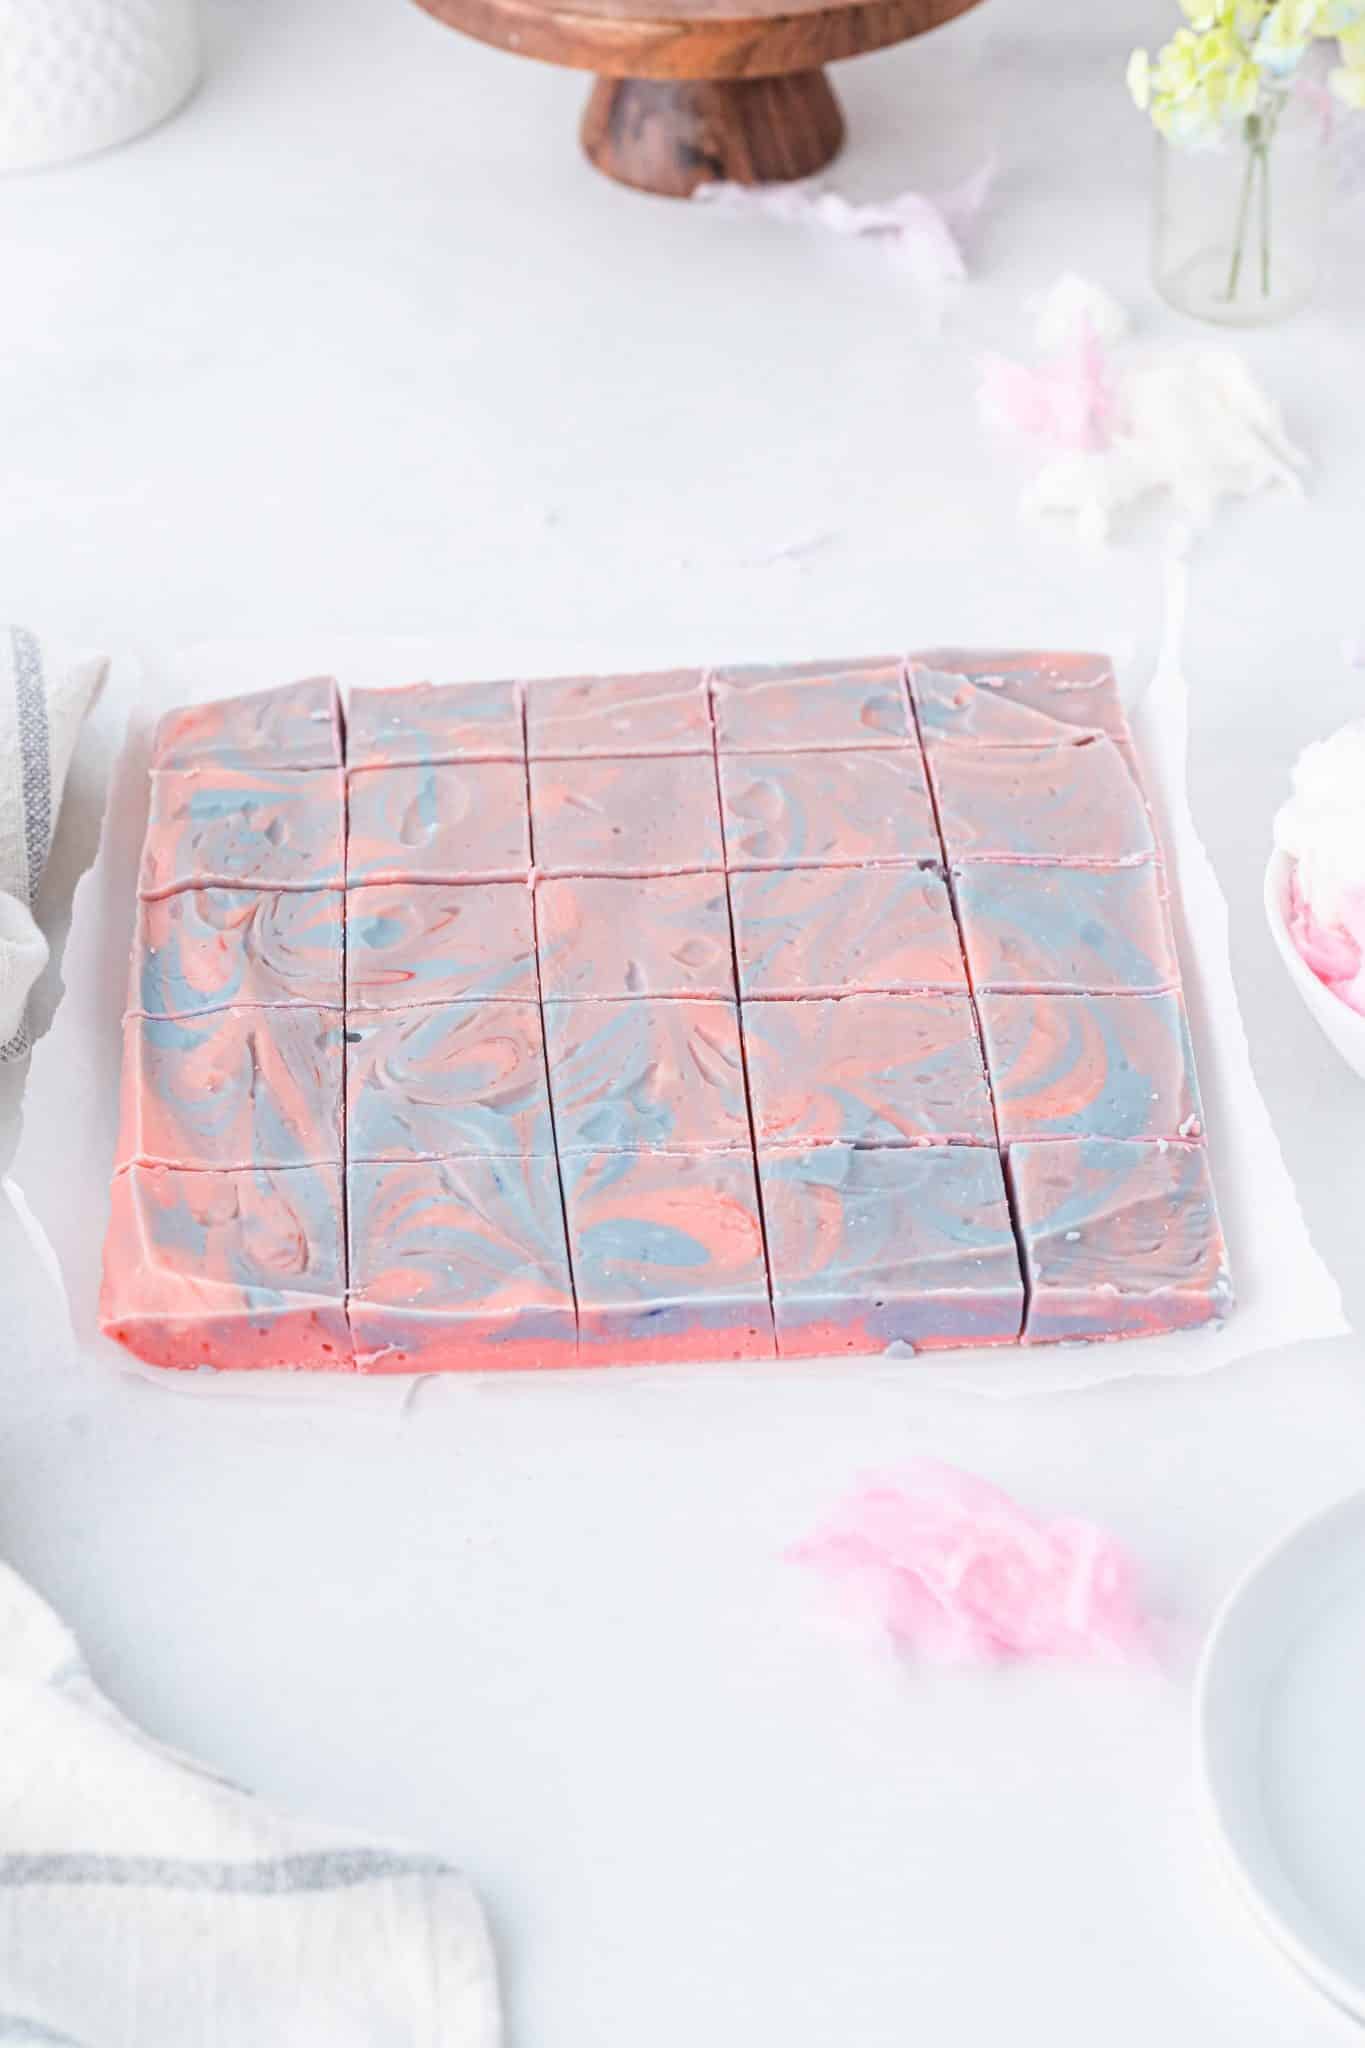
Set the pan into the refrigerator for 2 hours minimum or leave covered on the counter for four hours for the fudge to set.
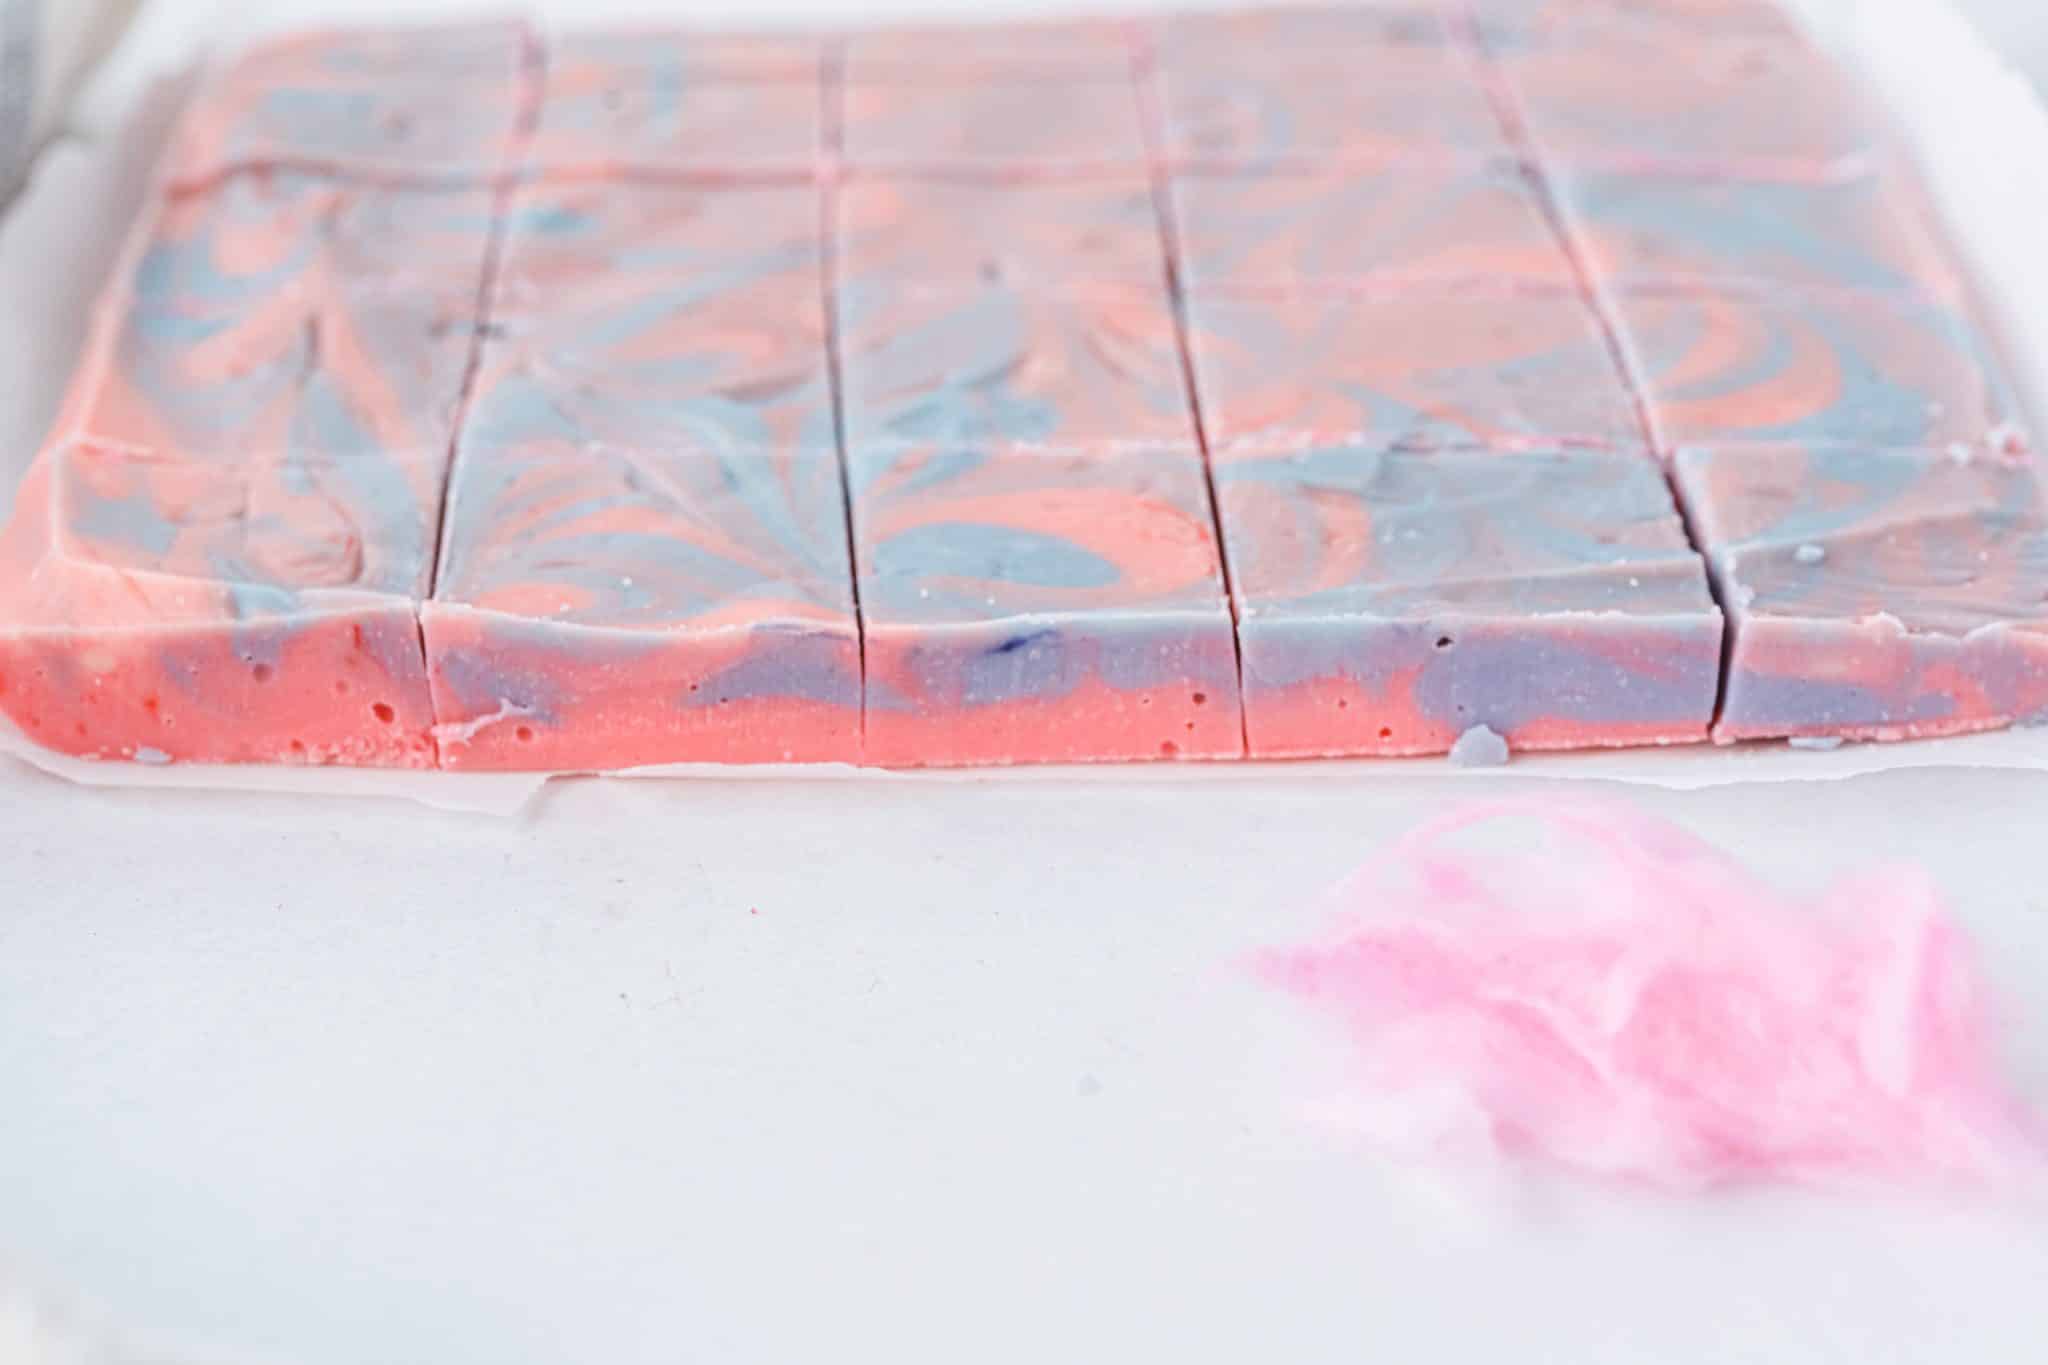
Carefully pull the top sheet of parchment off the fudge. The fudge can be cut into chosen sizes and placed into an airtight container or left on the counter for a short amount of time
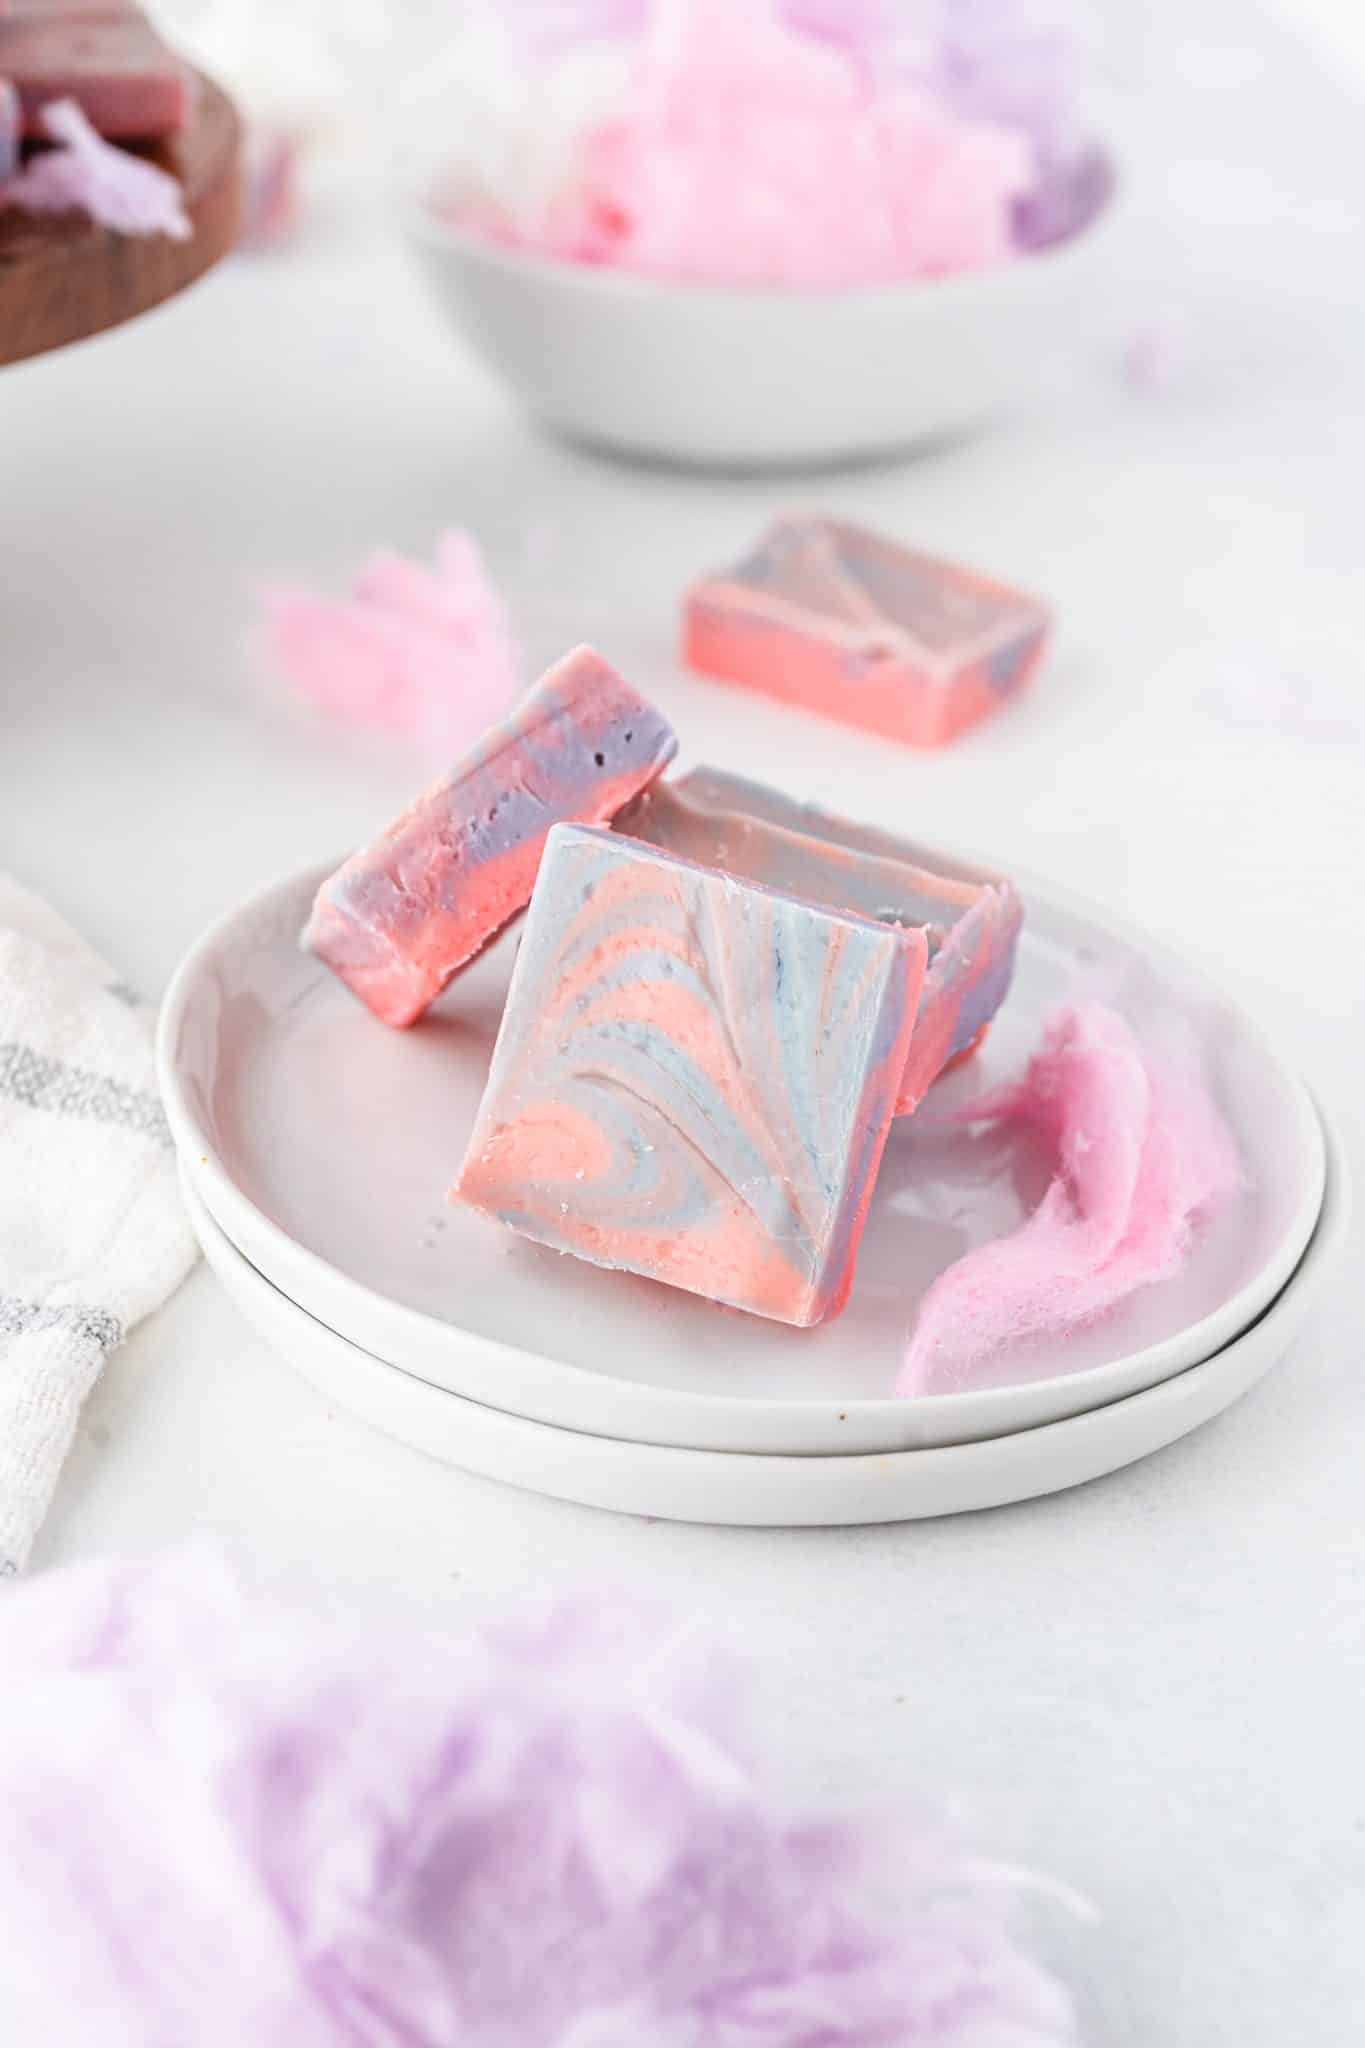
YAY!
Enjoy!
YUM!
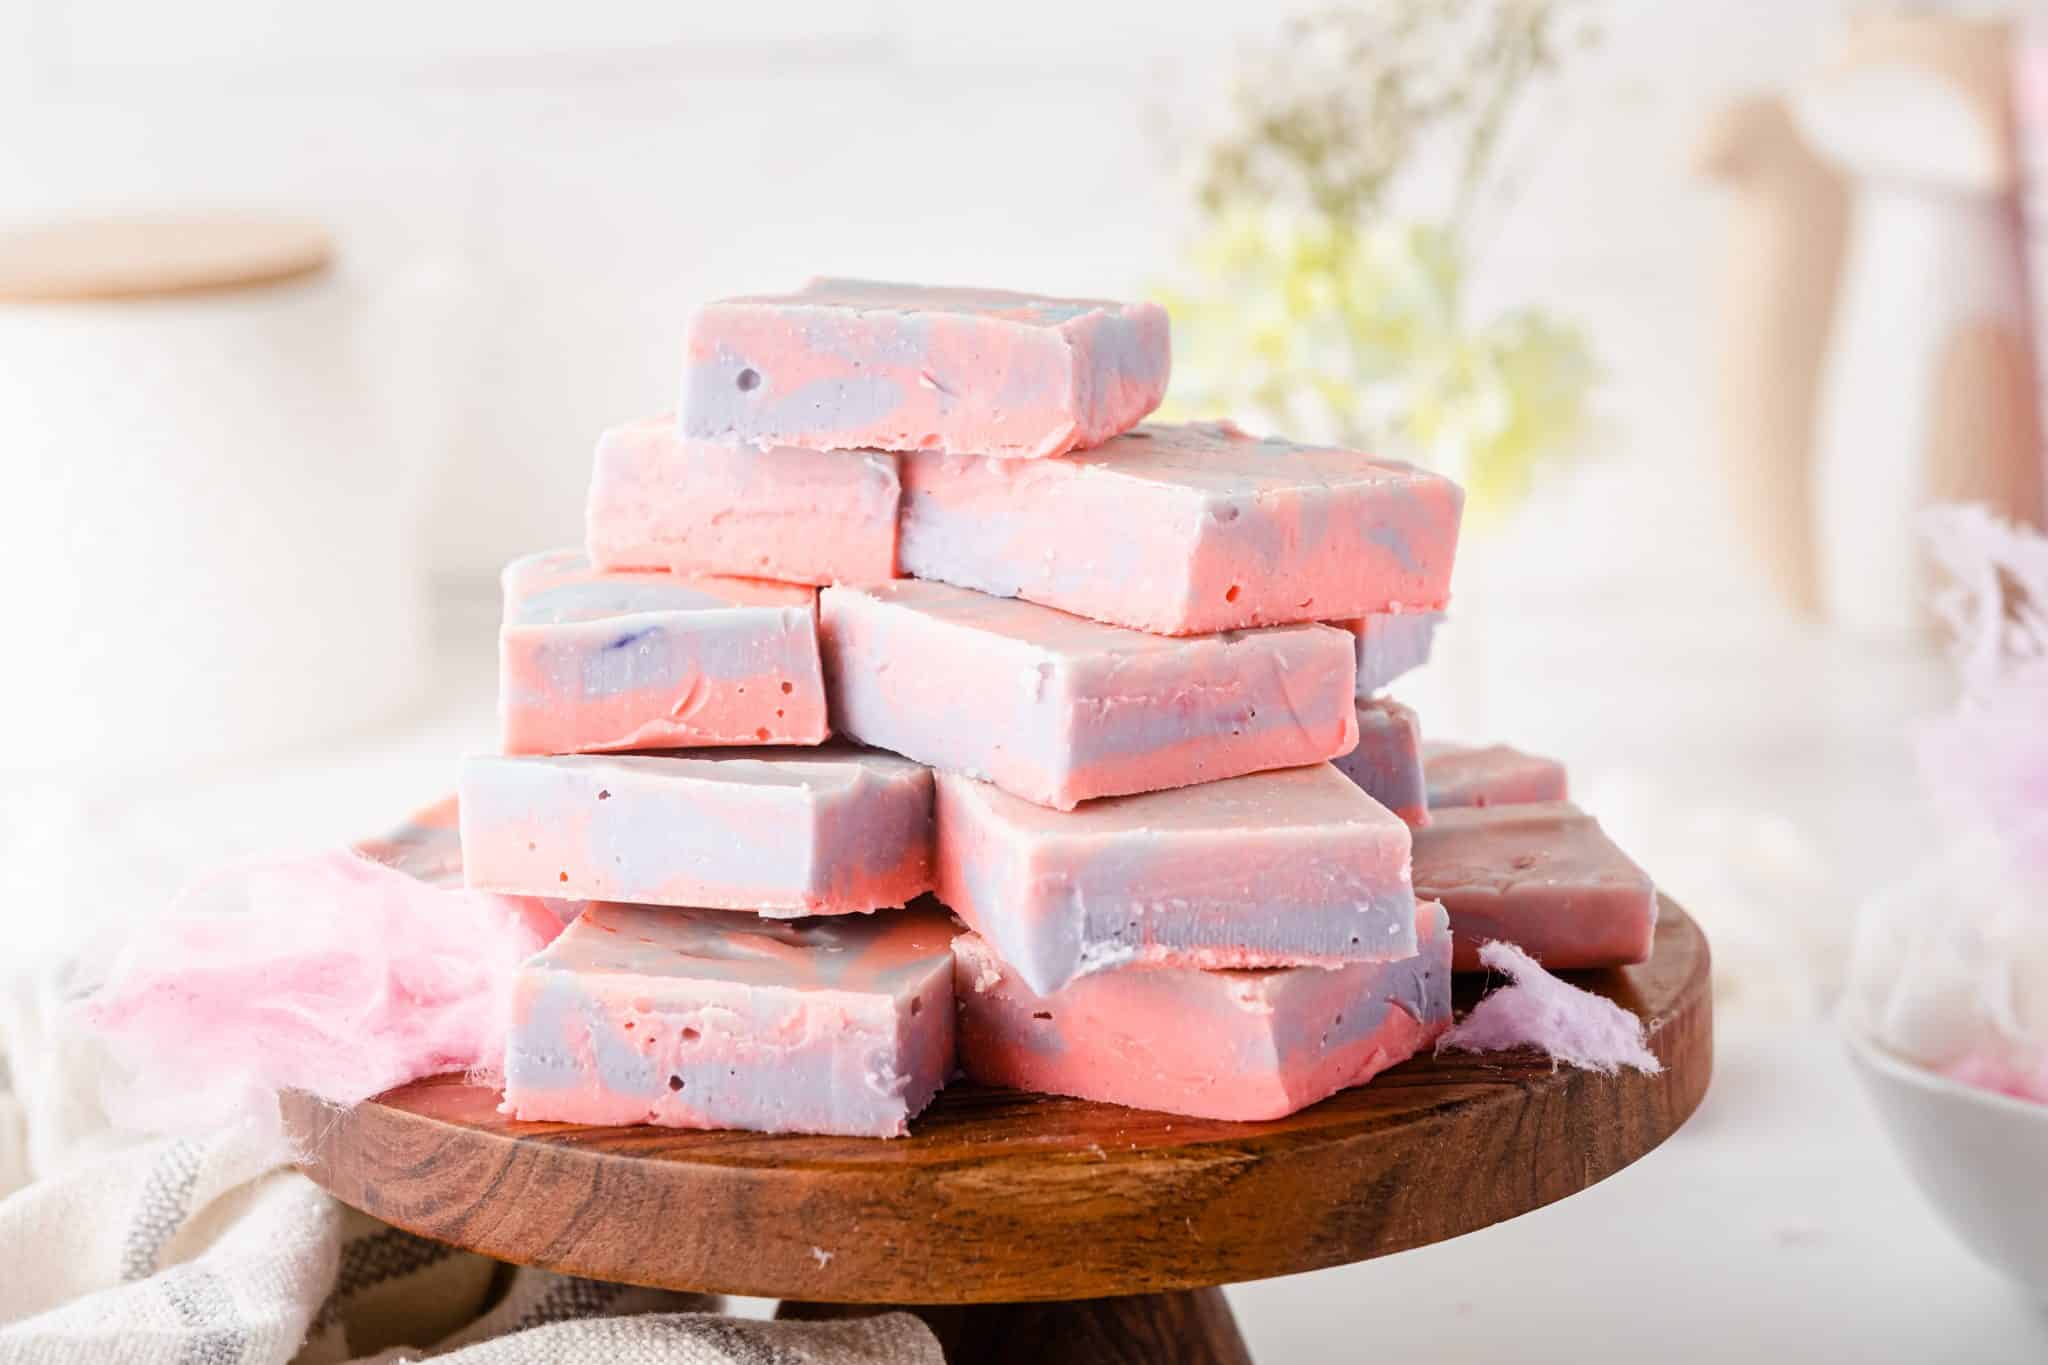
Cotton Candy Fudge
Ingredients
- 22 ounces of white chocolate chips, use a good brand
- 1 can of sweetened condensed milk
- ¼ cup butter, room temperature and unsalted
- 2 tsp Cotton Candy Food Flavoring
- ½ to ¾ tsp purple food gel
- ½ to ¾ pink food gel
Instructions
FIRST STEP:
Line your 8x8 pan with parchment paper. Be sure to use long enough sheets to go up all sides. These will be used to remove the fudge from the pan later
In a saucepan, over low to medium heat, melt the white chocolate chips, the sweetened condensed milk and the butter, until it is completely melted.
Stir often to keep the mixture smooth and prevent burning
Once melted, separate the mix equally into two separate bowls
SECOND STEP:
In one add the purple food gel coloring and stir. You have to work fast at this step for both bowls so the fudge does not begin to harden
In the other bowl, add the pink gel food coloring and stir. Again, you need to work fast to prevent hardening of the fudge
Drop by spoonfuls into the prepared pan, being sure to overlap the colors
THIRD STEP:
Using a wide blade knife or a thin spatula, begin to weave the utensil through the fudge, both colors to create a marbling design.
Cover with a sheet of parchment paper and gently push down with your hands to make the fudge into an even layer.
It is best to not remove the top sheet of parchment until after the fudge has set completely.
Set the pan into the refrigerator for 2 hours minimum or leave covered on the counter for four hours for the fudge to set.
Carefully pull the top sheet of parchment off the fudge. The fudge can be cut into chosen sizes and placed into an airtight container or left on the counter for a short amount of time
Enjoy!
Nutrition Information:
Yield: 24 Serving Size: 1Amount Per Serving: Calories: 162Total Fat: 10gSaturated Fat: 6gTrans Fat: 0gUnsaturated Fat: 3gCholesterol: 11mgSodium: 41mgCarbohydrates: 16gFiber: 0gSugar: 16gProtein: 2g


Leave a Comment